Binding With Bind All
WORKING WITH STEWMAC BIND ALL ADHESIVE ON A LACQUER FINISHED GUITAR BODY
Rating: *** (out of five stars possible)
SAs an adhesive, Bind All is very effective. However the tube dispensing is not friendly.
Stewmac Bind All adhesive is the only satisfactory product of its kind for installing plastic binding to a guitar top or back. But, you better have your head screwed on tight to work with it. Bind All cross links to the binding plastic, in most cases within a few seconds. "Cross Links" means that it dissolves the plastic. It also binds to wood very well. It also eats lacquer instantly and removes stain as well as any paint remover. So I thought it might be nice to document what I have discovered about working with it. The first and most fundamental consideration is this: are you working on all bare wood or a guitar that will be completely refinished, or are you adhering binding adjacent to finished surfaces? I have no idea how resistant varnish is to this stuff, but repairing or installing new binding next to a fine lacquer finish is fraught with peril. Working next to bare wood that will be scraped and sanded is no big deal, although it is wise to wipe off excess adhesive in any case. You want to keep the showing binding surface completely free of all adhesive squeeze out or splash or finger prints. After gluing a section, wipe down must happen immediately followed immediately by taping every inch or so. I want to tackle the much more difficult task of adhering new binding next to a finished lacquer surface. The procedure is not too difficult around bare wood because you can sand and scrape although a seal coat of shellac is nice. Forget the following if the finish is not firmly stuck down on the stain and substrate (i.e. wood). In fact, if the finish is like most of the vintage Gibson guitars we have worked on, you will have to refinish the sides at least, because green tape will remove the adjacent finish. If this is your first binding job, you should practice on a junk guitar first before attempting this procedure on a nice H1203 or H1260. This is tough exacting work and is probably the most difficult task in all guitar repair work. I would rather do ten resets to one back binding.
OK, so assuming well adhered lacquer finish adjacent to the binding rebate, here goes.
MATERIALS and TOOLS
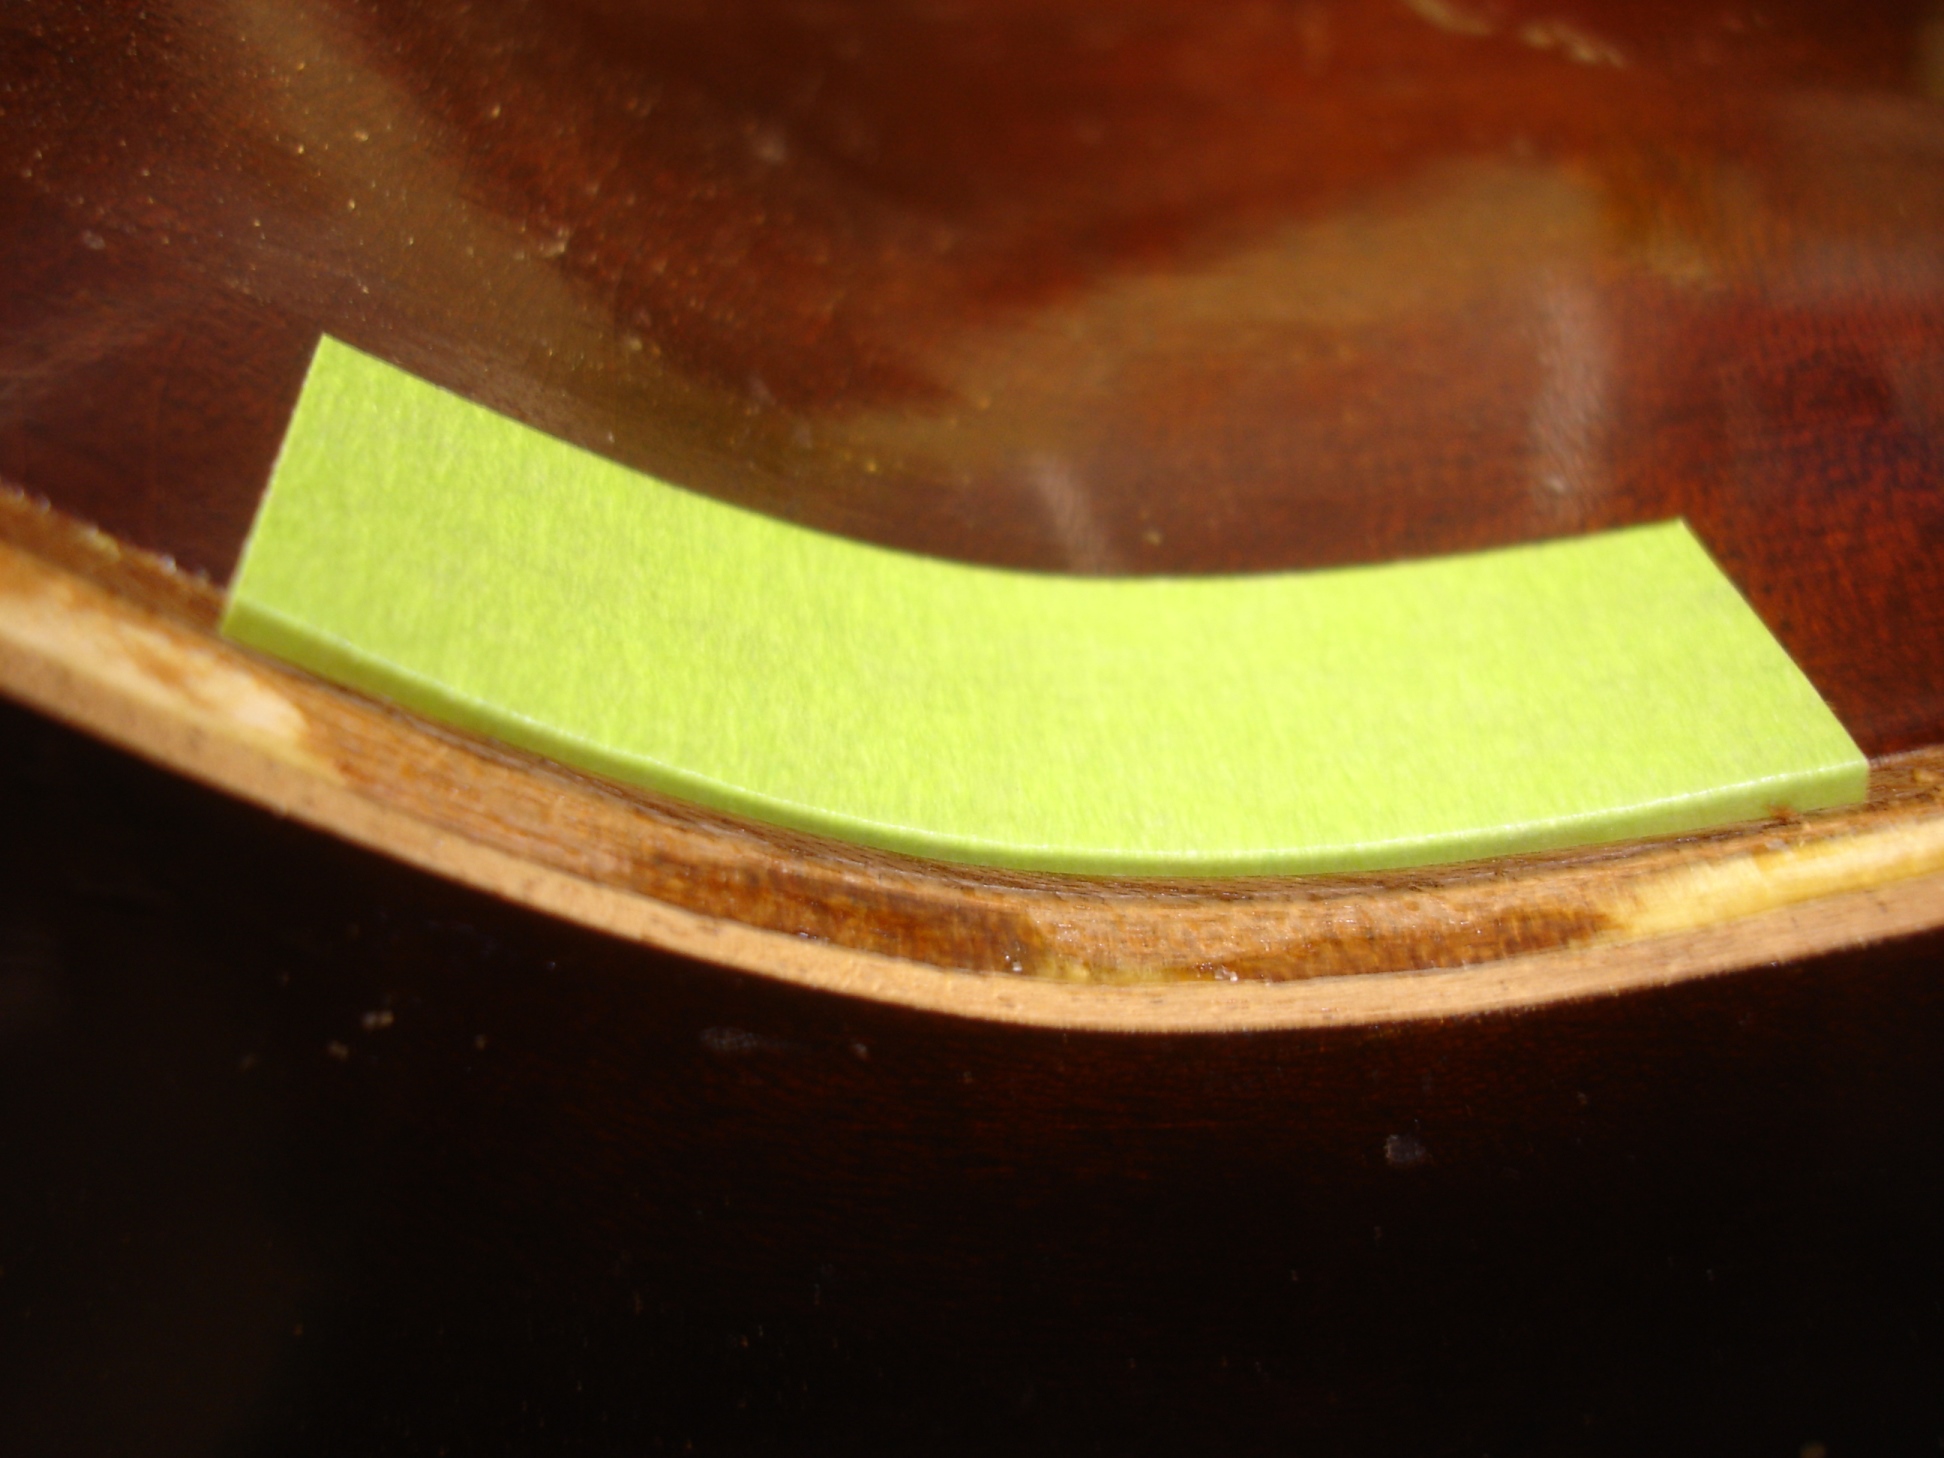
- Binding
- Bounty brand "Select a Size" paper towel one full roll
- 3/4 inch 3M brand "Hard To Stick Surfaces" green tape.
- 2 or 3 inch wide 3M brand "Hard To Stick Surfaces" green tape.
- One tube Stewmac Bind All adhesive
- Cabinet scraper card - .042" or 1mm Super-Hard Scraper 05K30.01 (Lee Valley)
- PFEIL SWISS MADEGM4 Item 161305 Violin Knife 12mm (Woodcraft)
- Xacto knife with new pointed blade.
- Premium Green masking paper by Trimaco.
PREPARATION
- Prepare, clean out, re-rout, etc. the rebate as needed. The neck must be removed first when adding or replacing back binding. Same for top binding.
- Apply 1.5 inch x 3/4 inch 3M Hard To Stick Surfaces green masking tape ("green tape") to the center point of the waist side finish, parallel to the rebate. If the guitar has a very small radius at the waist, use 2 inches. This little piece of tape is the most important piece of masking in the entire procedure. Make sure that the edge of the tape extends into the rebate for exactly 1/32 inch. Press the edge of the tape down into the rebate. The will prevent Bind All from squeezing out on to the finish at the waist. Keep in mind, Bind All wants to squeeze out everywhere. Where ever it touches finish, it damages immediately.
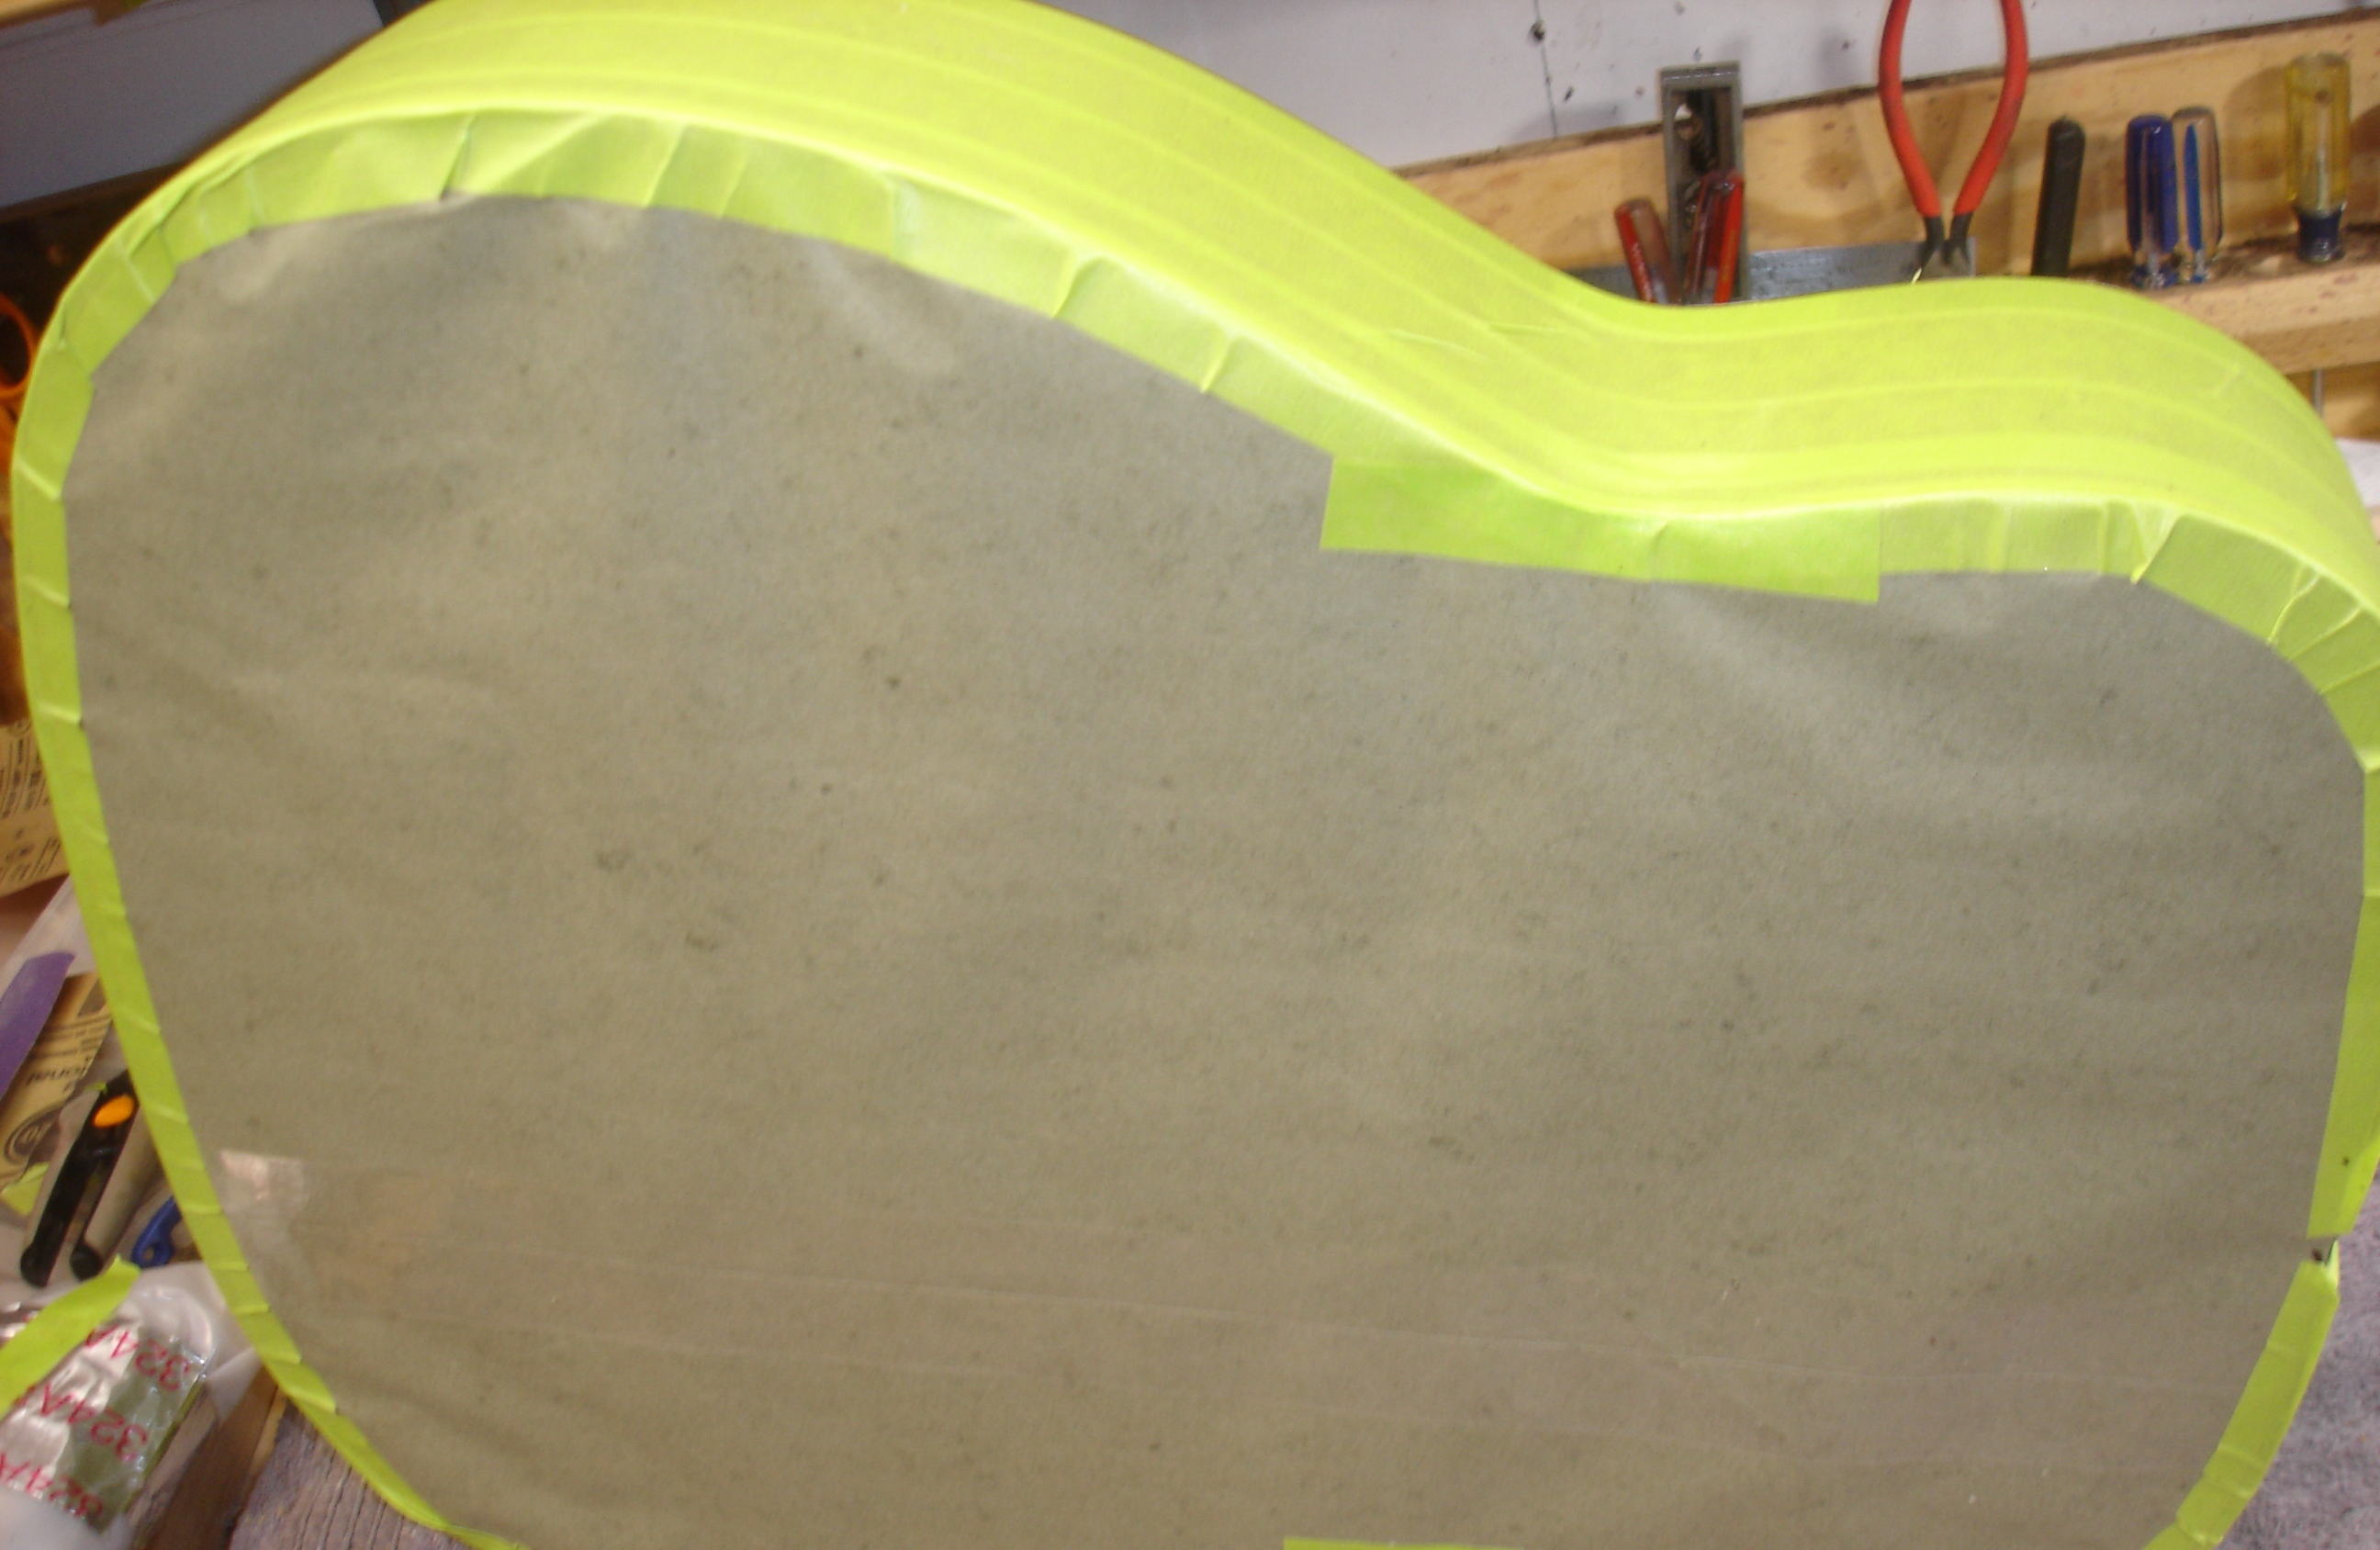
- Using 3/4 inch green tape, mask the side surface adjacent to the rebate around the entire guitar. This masking must be precise. You don’t want any tape sticking out into the rebate (except for step number 2 above). You don’t want any side finish showing between the edge of the green tape and the rebate.
- Cover the rest of the sides with 2 inch or 3 inch wide green tape. You should also completely cover the top with green lacquer resistant paper. Use Green Premium Masking Paper by Trimaco.
- Cover the outside edge of the back with 2 or 3 inch of 3M green tape. Leave at least 3/8 inch tape sticking out beyond the edge of the back.
- Use a new sharp, pointed, Xacto blade to trim off the green tape installed in #5 above. Best way to do this is to lay the body down on a piece of 1/4 inch underlayment plywood. Underlayment is perfect for this operation because it has soft mahogany on one side which won’t dull the blade. Press the guitar down gently on the underlayment so that the edge of the rebate is resting on the underlayment plywood. This simplifies trimming off the excess green tape added to the back in step 5 above. Trim the green tape right up to the edge of the rebate cut into the back boards. Make sure no green tape extends into the rebate and that the finish on the back is protected at all locations around the entire back adjacent to the rebate.
- Cover the top with Premium Green Masking paper.
- Why are we covering and protecting all the guitar finish like this? When you start installing the binding with the Bind All adhesive, you will soon discover that you get adhesive all over your fingers. If the guitar finish is not covered, you will leave glue finger prints all over the place. Very bad!
- Cut at least 60 x 3 inch pieces of 3/4" wide green tape and make each piece easily accessible immediately adjacent to where you are working on the guitar body.
- Cut 30 sheets of Bounty "Select a Size" paper towel in half. This should yield sixty 6 inch X 6 inch squares of paper towel. Separate the squares so that each sheet is easily accessible during the adhesion process.
- Wipe down the binding with rubbing alcohol. You want to start with nice clean binding.
- Ensure adequate ventilation. However, do not have any fan circulating air near the binding installation operation. That dries out the Bind All too fast.
INSTALLATION
- Binding adhering must be completed without pause. You will spread glue, install binding, wipe and press, wipe again, then tape.
- If you are right handed, work from left to right. Opposite for lefties. When binding the back, start at the seam just below the dovetail socket. When binding the top, start from the right side of the open dovetail socket. In both cases, the rebate faces you.
- Install approximately 6-8 inches of binding at a time. This is to say, apply only 6-8 inches of Bind All to the rebate at one time. Guide the Bind All into the rebate with a finger. Use as little adhesive as possible covering both sides of the rebate.
- Immediately press the binding into the adhesive. Wipe off all excess adhesive with a square of paper towel. Wipe from your starting point on the left to the right. The wiping operation cleans away the squeeze out and presses the binding into the rebate. This must happen in one firm motion. The Bind All will grab the binding within seconds and will bond as soon as it is wiped and pressed. Work fast!. You have about 10 seconds to install the binding and wipe away the excess Bind All. Keep in mind, Bind All cross links to all binding plastics. This means that it will destroy that nice smooth surface if you leave any residue.
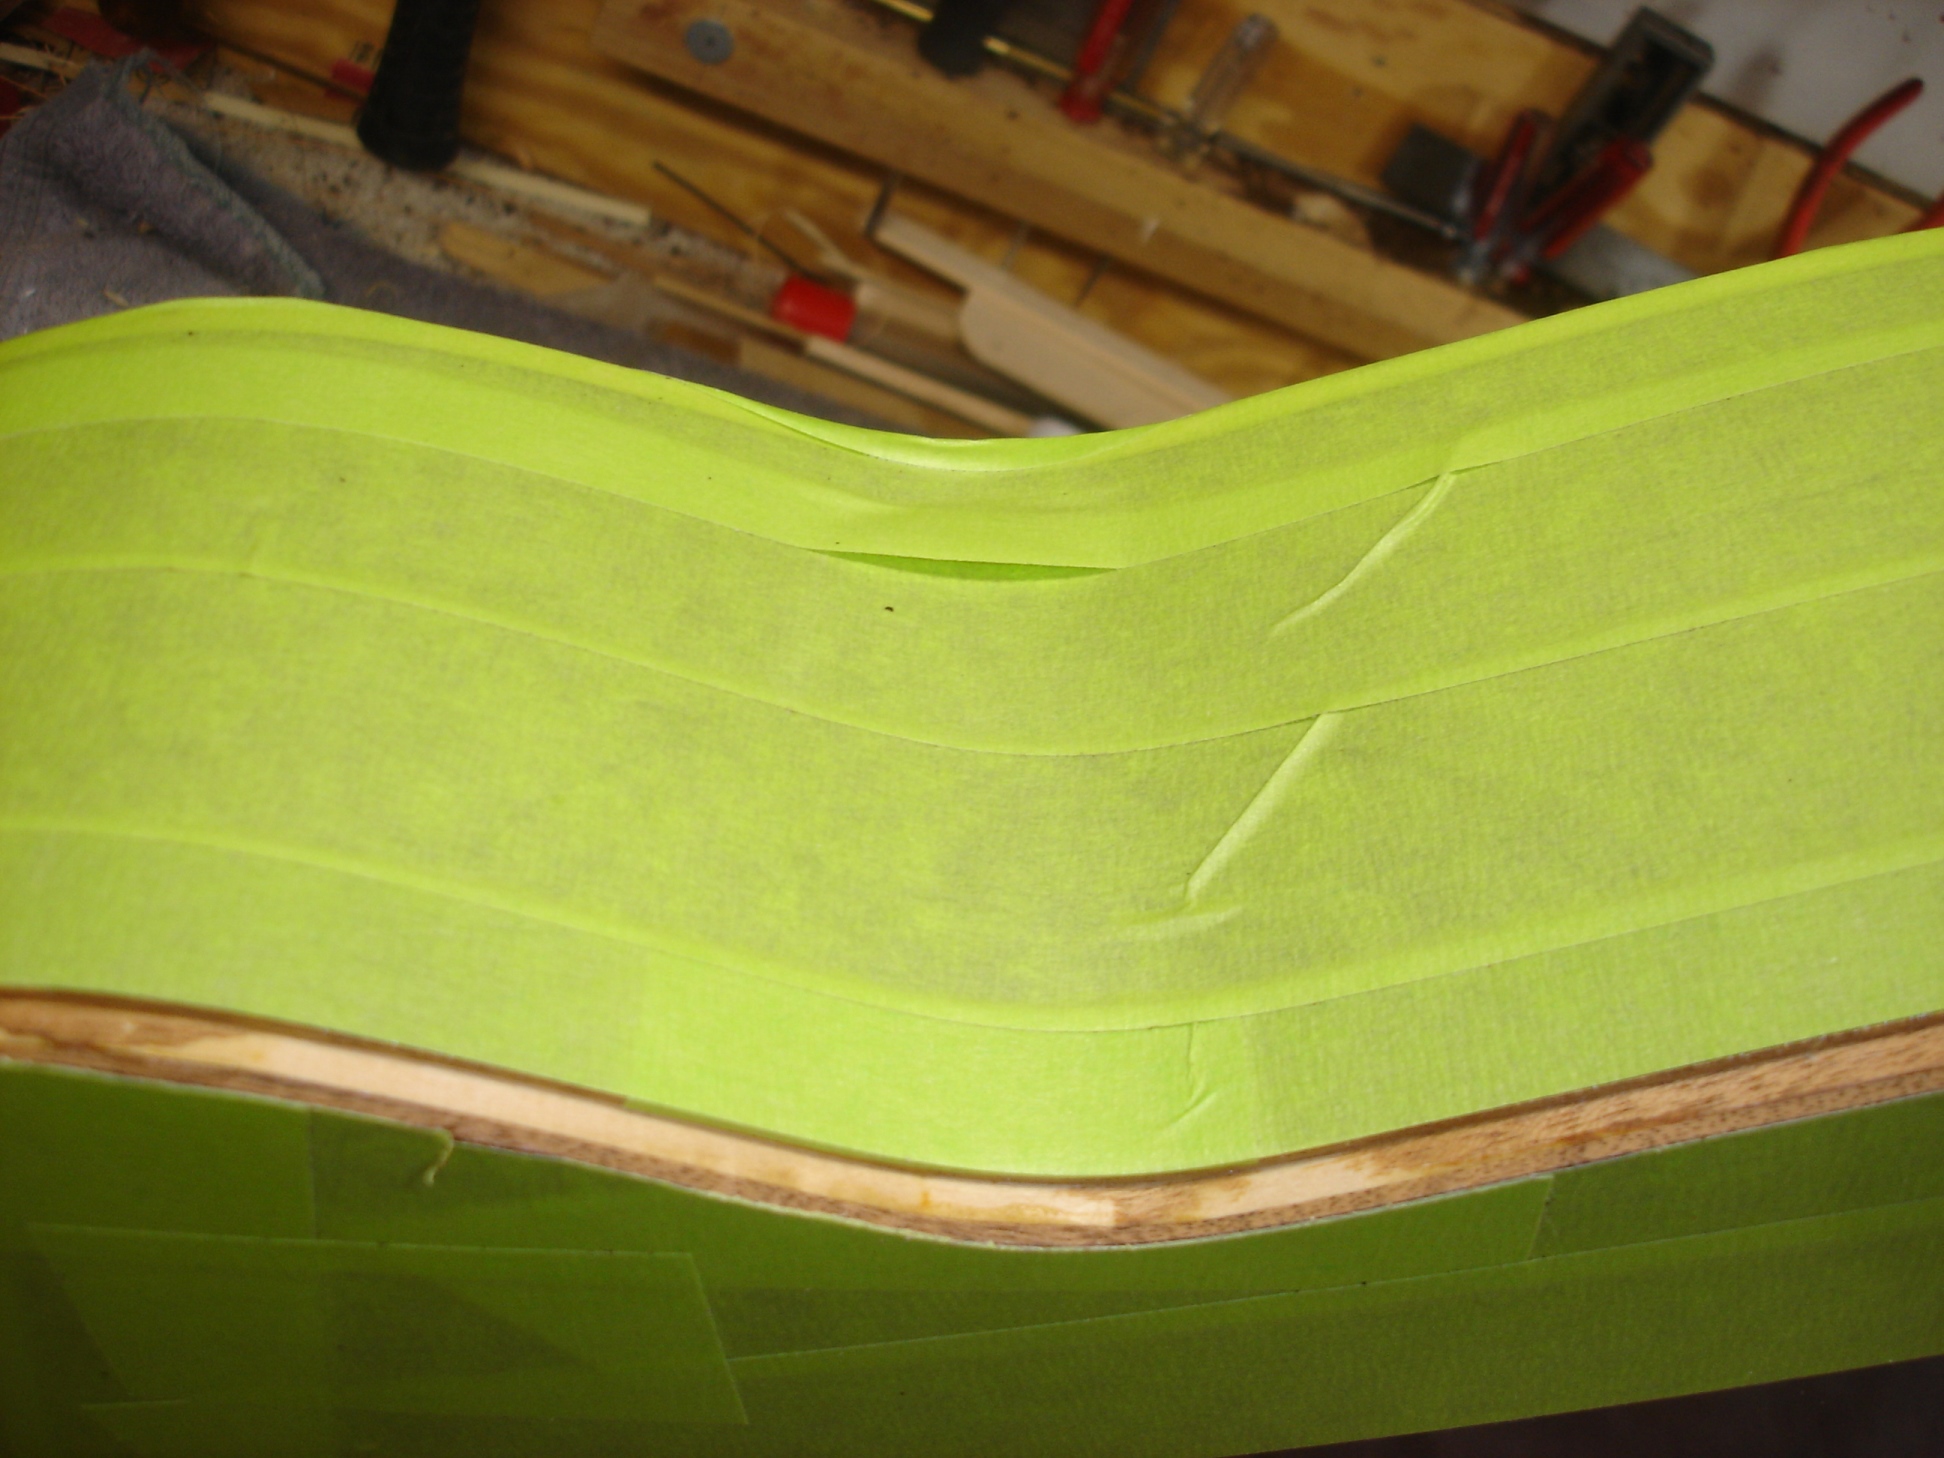
- Force and tape the binding into the rebate using strips of green tape every inch. The strips are stretched perpendicular to the binding and the rebate. Before taping make sure that all Bind All squeeze out and all residue is wiped from all visible locations on the binding and anywhere else. Double tape at the waist curves. The binding wants to pull away from the rebate there.
- Now you can see why it was important to have 3 inch strips of green tape and paper towel squares prepared before starting.
- Do not stop installing binding until the entire back or top binding is installed.
- Check all around for any lingering adhesive bubbles and wipe those away. Also check for any binding that is not completely pressed into the rebate.
- Allow the Bind All to dry for 24 hours. Make no mistake, it takes that long.
- Remove the tape.
- Make sure the card scraper is correctly sharpened. Use the card scrapper to clean up the worst of the inevitable squeeze out. When scrapping, keep the card at a 2-3 degree angle to the top or back surface. Use both hands. Let your conscience be your guide.
- Use the violin knife to scape remaining adhesive from the narrow edge of the binding (and purfling if any) around the top or back. This tool takes lots of practice and strong hands so practice on a junk guitar first. See this link for a reasonable demonstration of binding scraping:
https://www.youtube.com/watch?v=TNbsZsSabPs - Use the violin knife to remove any squeeze out on the wide edge of the binding.
©2018 D.R. Hanna