Mortise Cutting Using the Butt Mortise Plane
Acoustic guitars with bad top distortion around the bridge or bridge belly often need more flattening power than X-bracing can provide. This is especially true if the distortion is just below the bridge causing the familiar bridge roll towards the sound hole and adversely affected play action.
So, the top needs flatting. V-bracing is better for this type of repair because the braces go right over the reinforcing plate and directly under the bridge.
A critical joint in this structure is the mortise cut under the main braces so that the braces can sit flat on the underside of the top and on the top of the new reinforcing plate. For ultimate structural reliability, this joint must be perfect. Hide glue and yellow glue require tight fitting joints.
You can imagine what would happen if this glue joint failed.
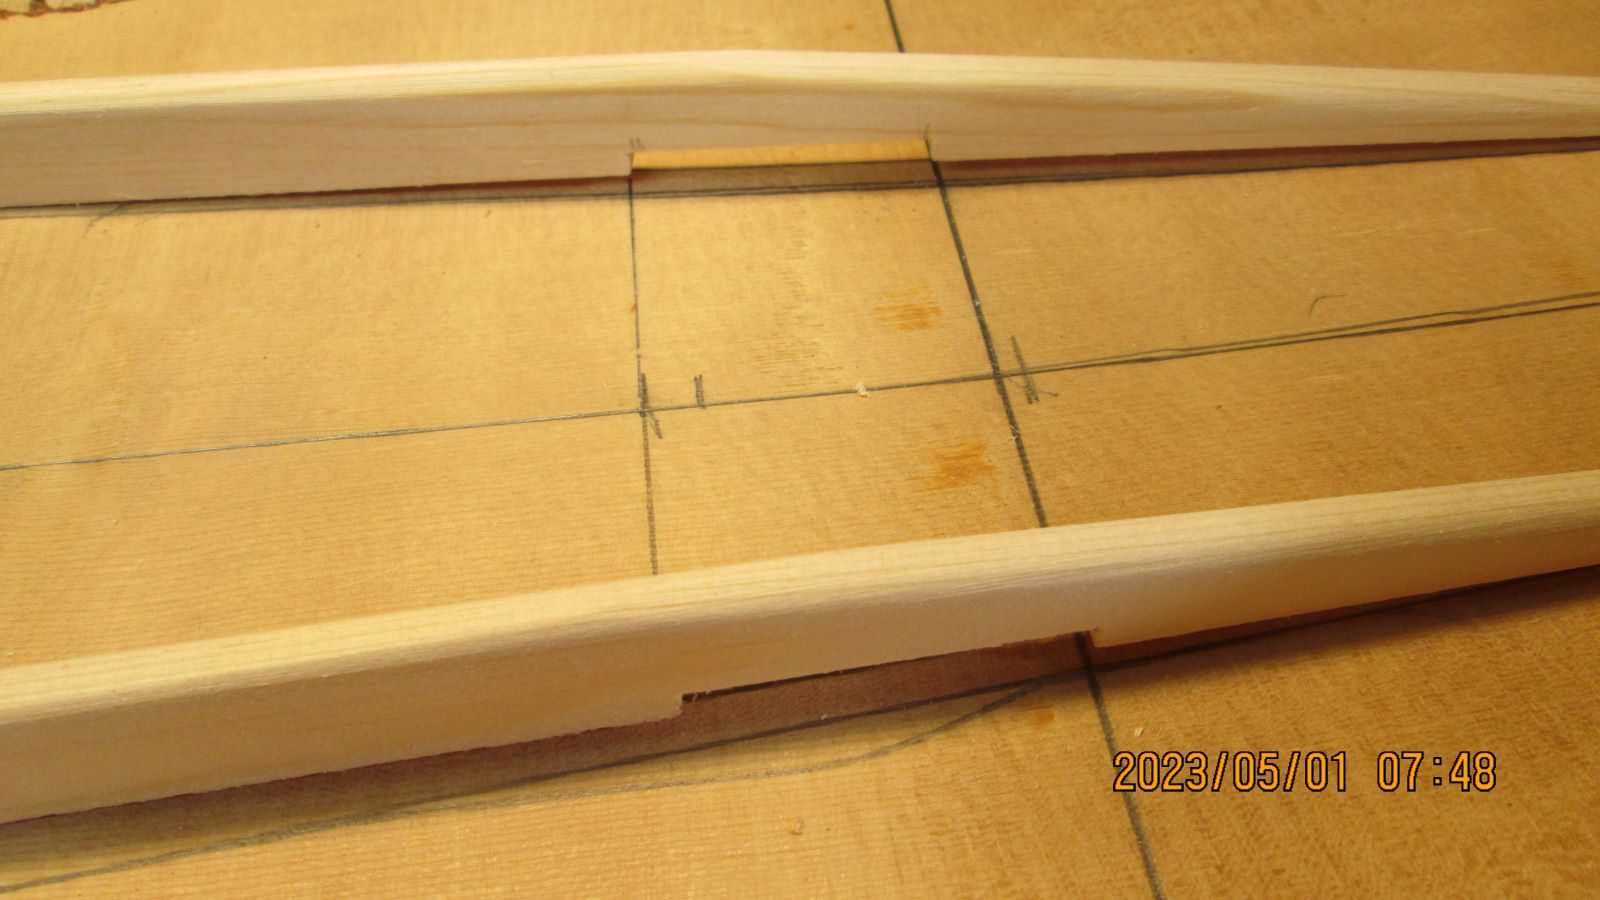
The two images below show a badly deformed top and two braces ready to install. You can see a gap between the underside of the braces and top. The mortises for the reinforcing plate are already cut.
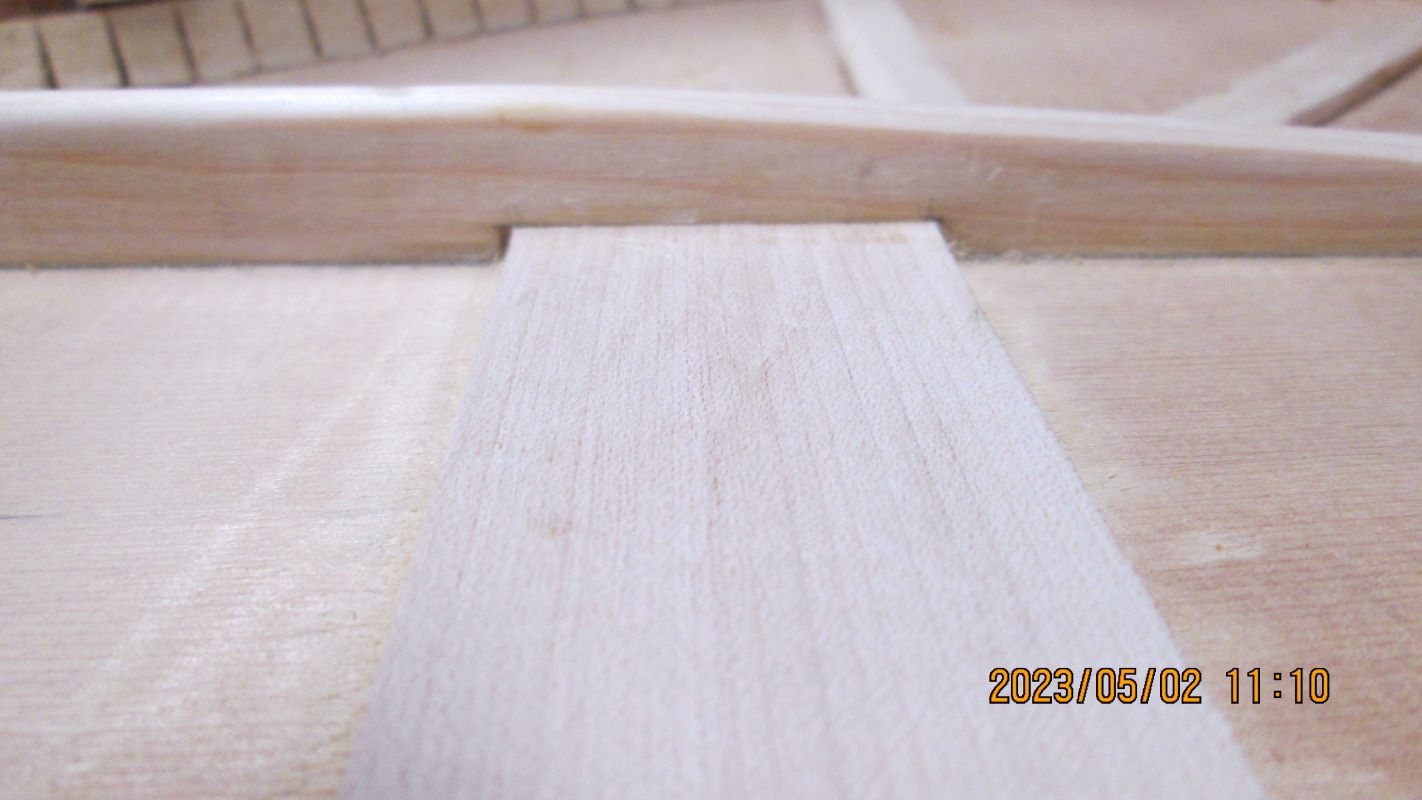
The next image shows the reinforcing plate installed, glued down.
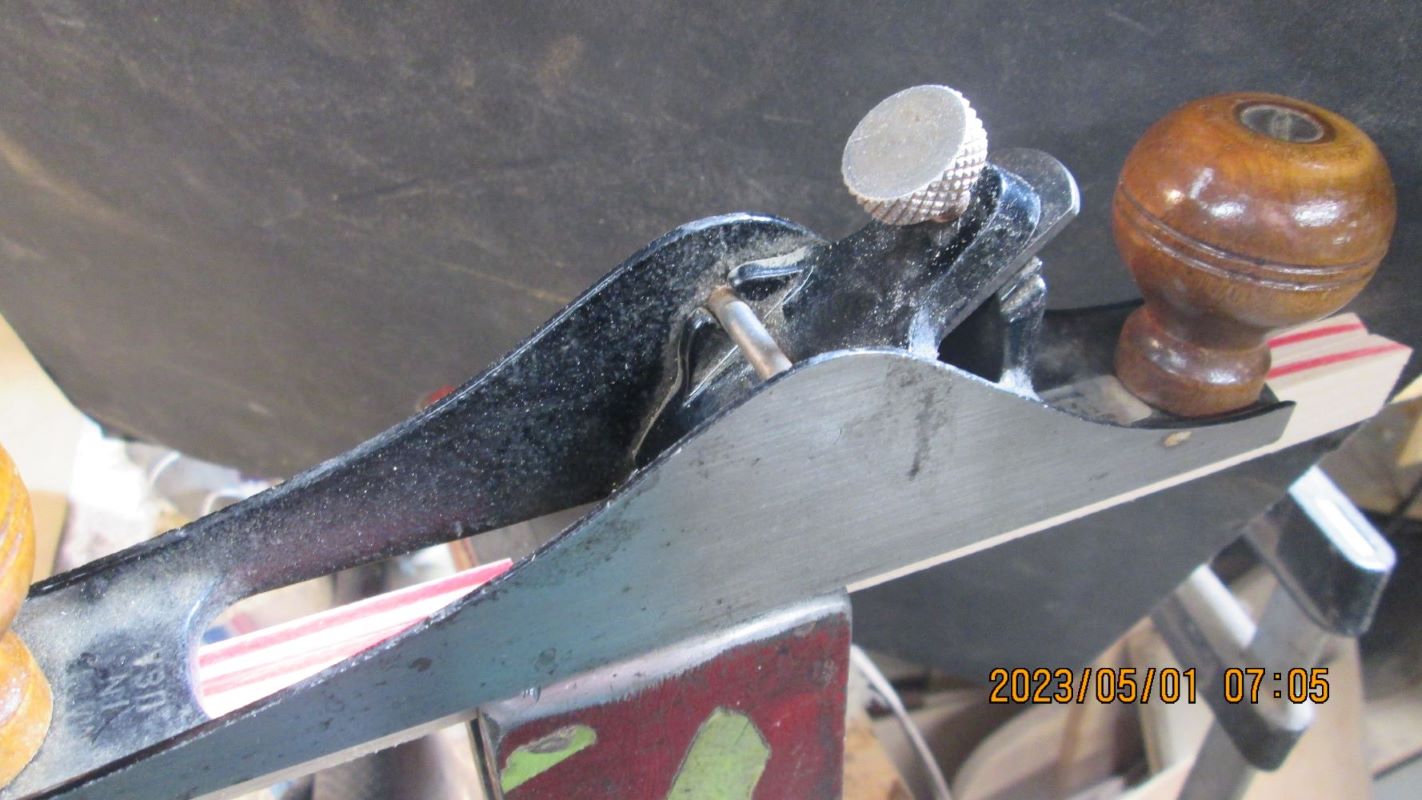
Well, say hello to my little friend, the butt mortise plane. This tool was originally designed to cut hinge mortises in door edges and framing. See below. After using this plane on several mortises, I am sold. Set up for a router takes forever. And I need my routers set up for other uses. I am very skilled with a chisel, but this tool is superior in every way. However, I did replace the low quality original blade with a Lie Nielsen blade.
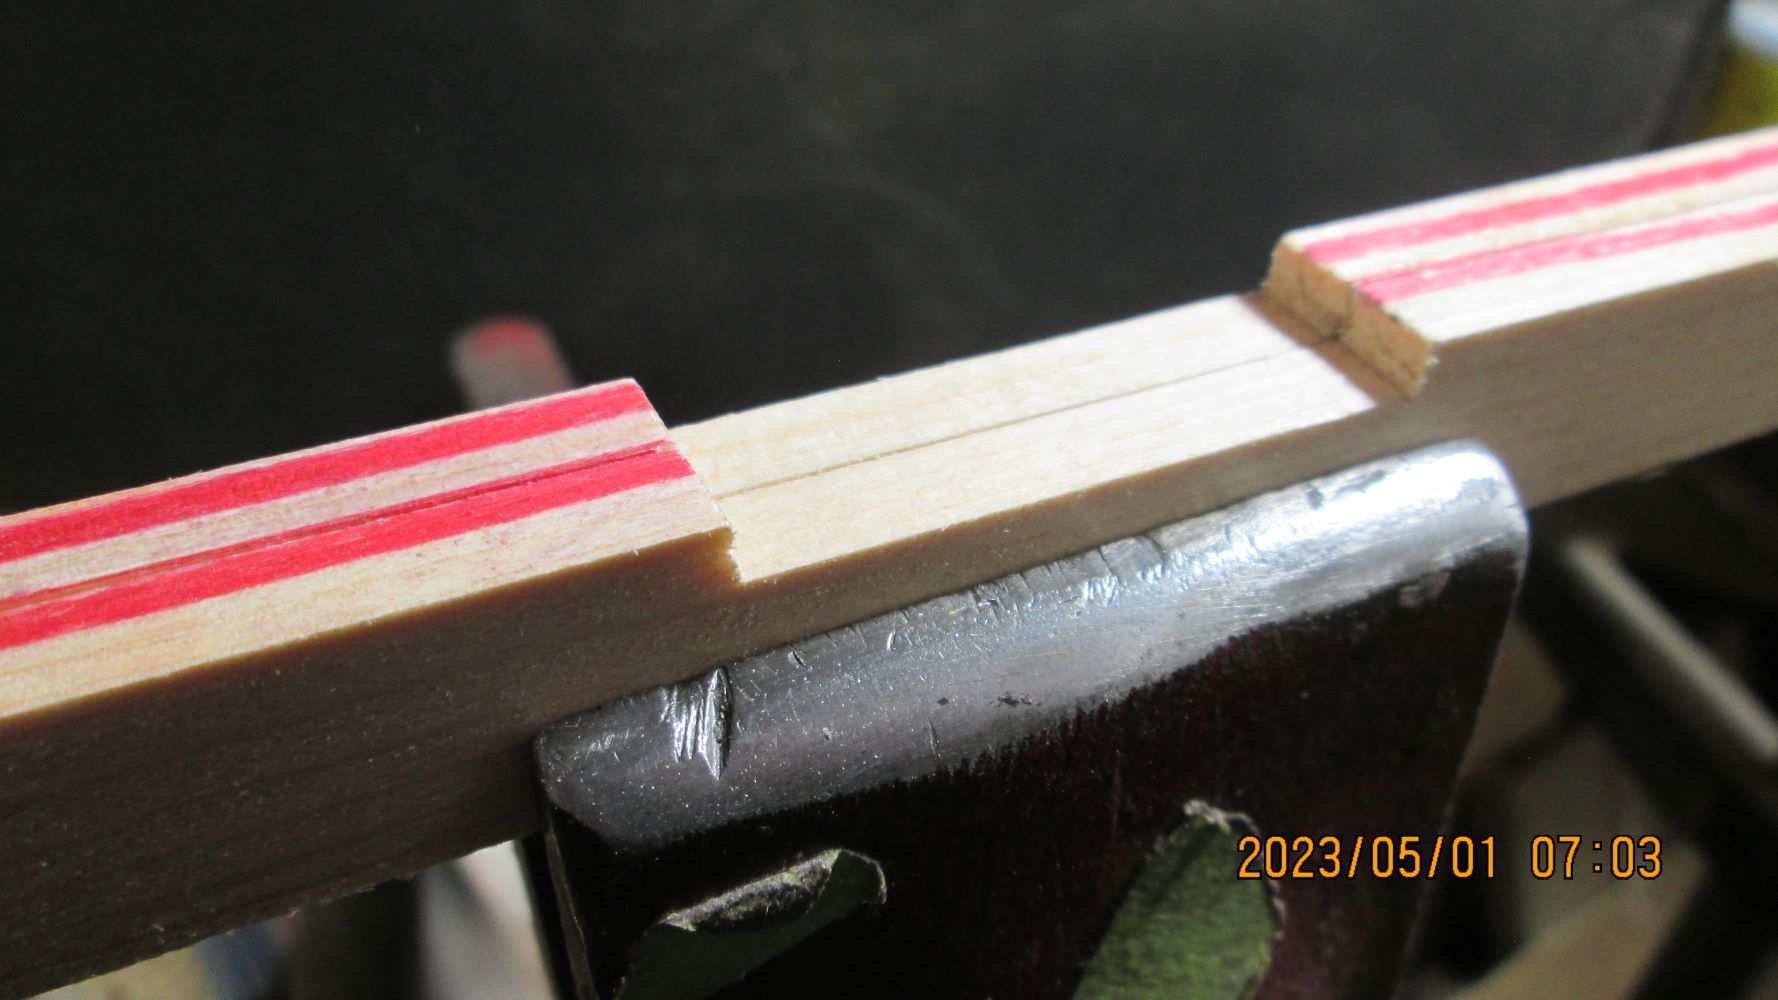
The following images show the plane set up and ready to use. The braces have a red line on the glue surface.
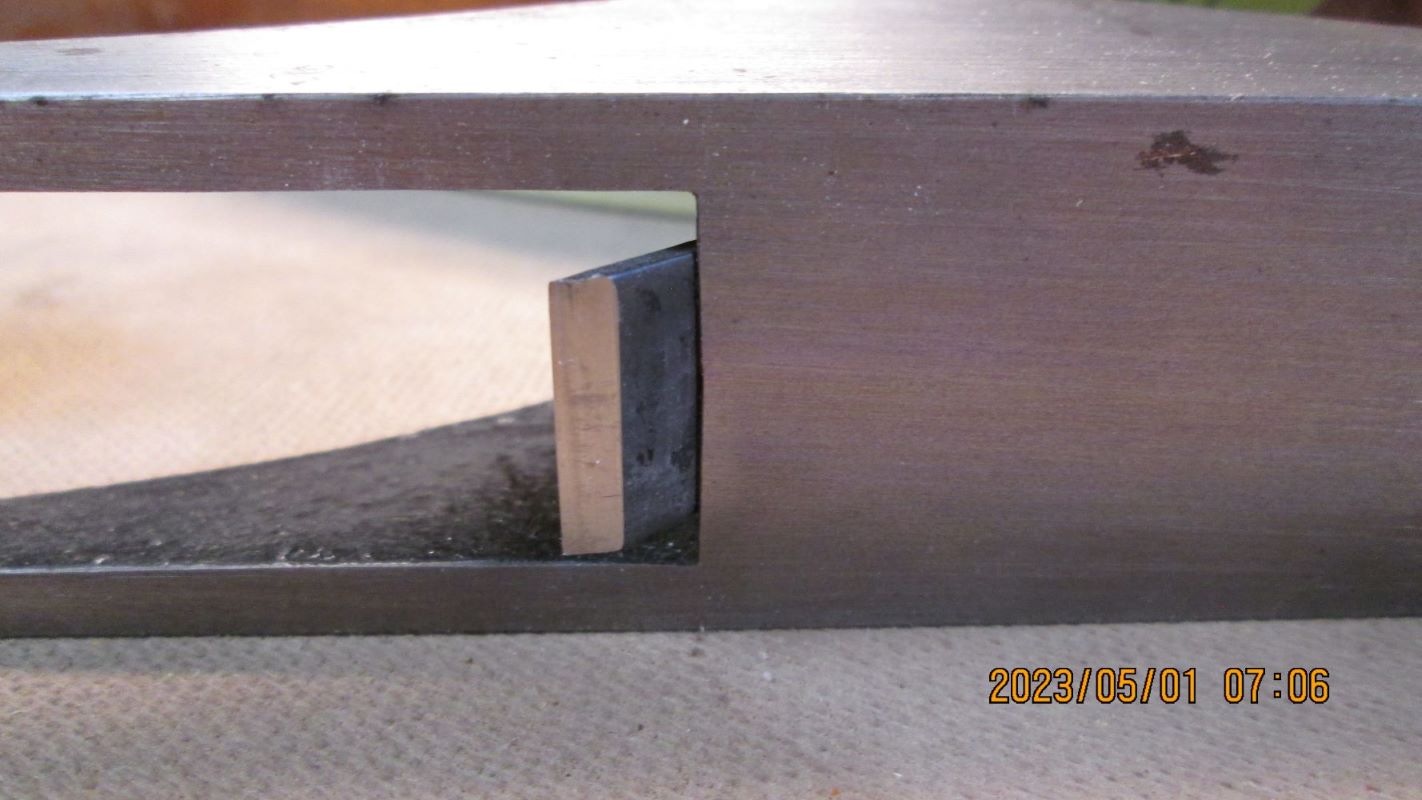
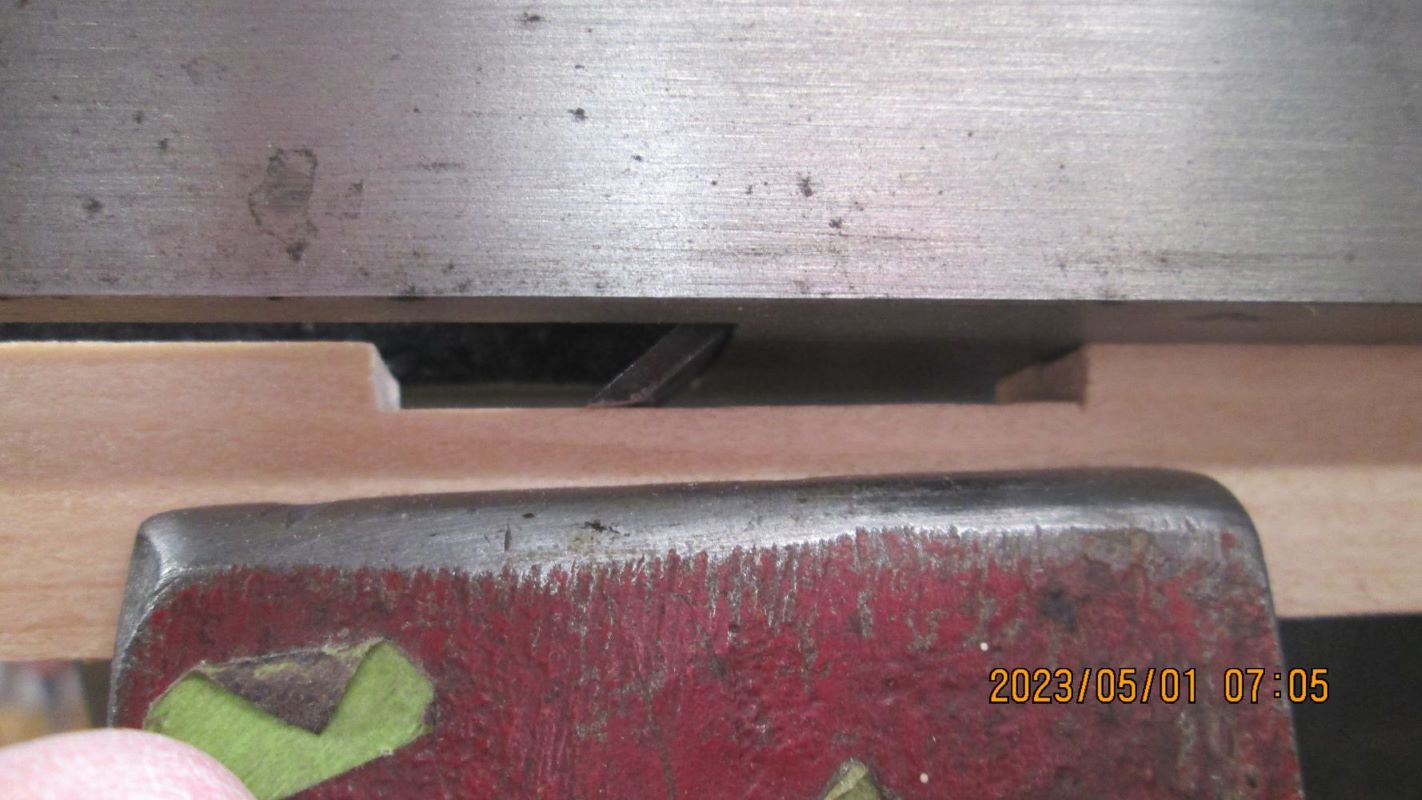
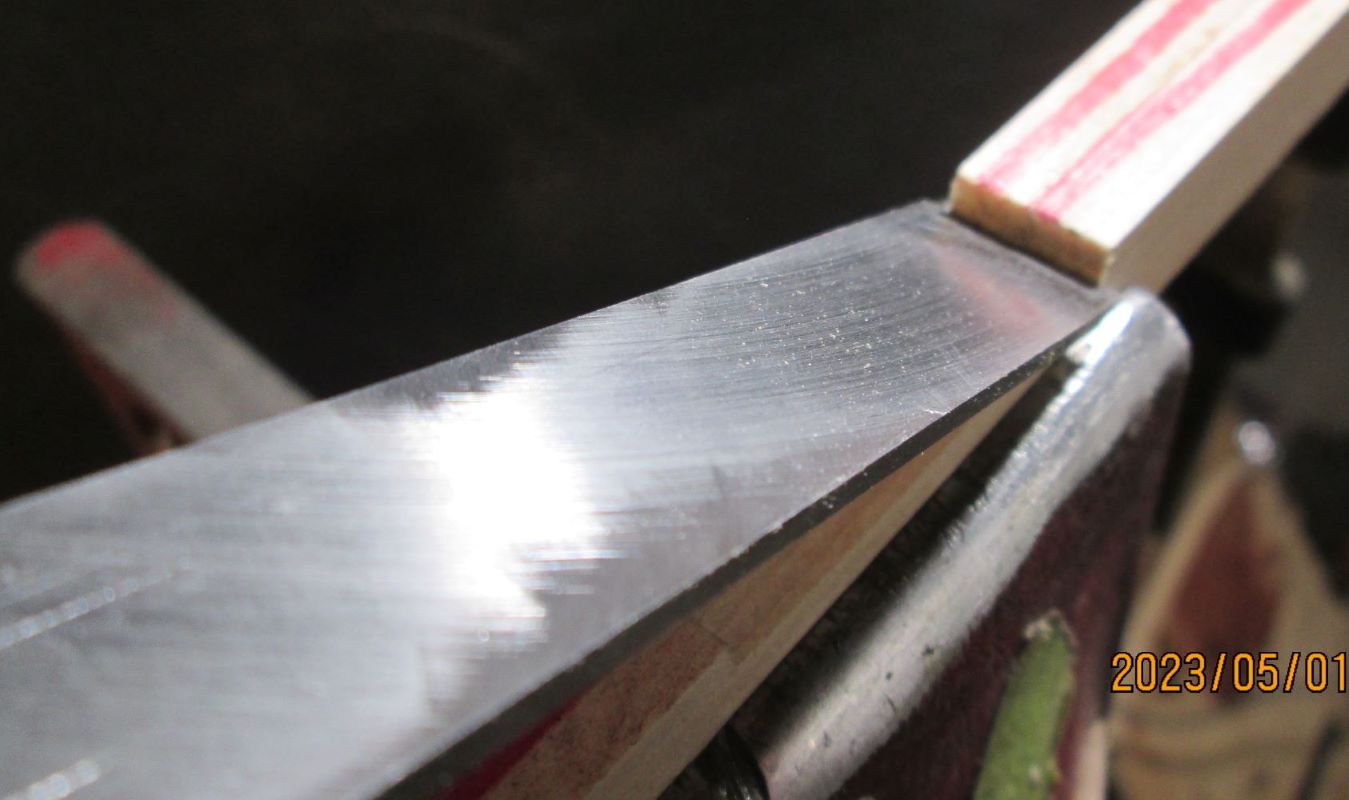
Below, you can see the blade cleaning up the mortise cut in the braces.
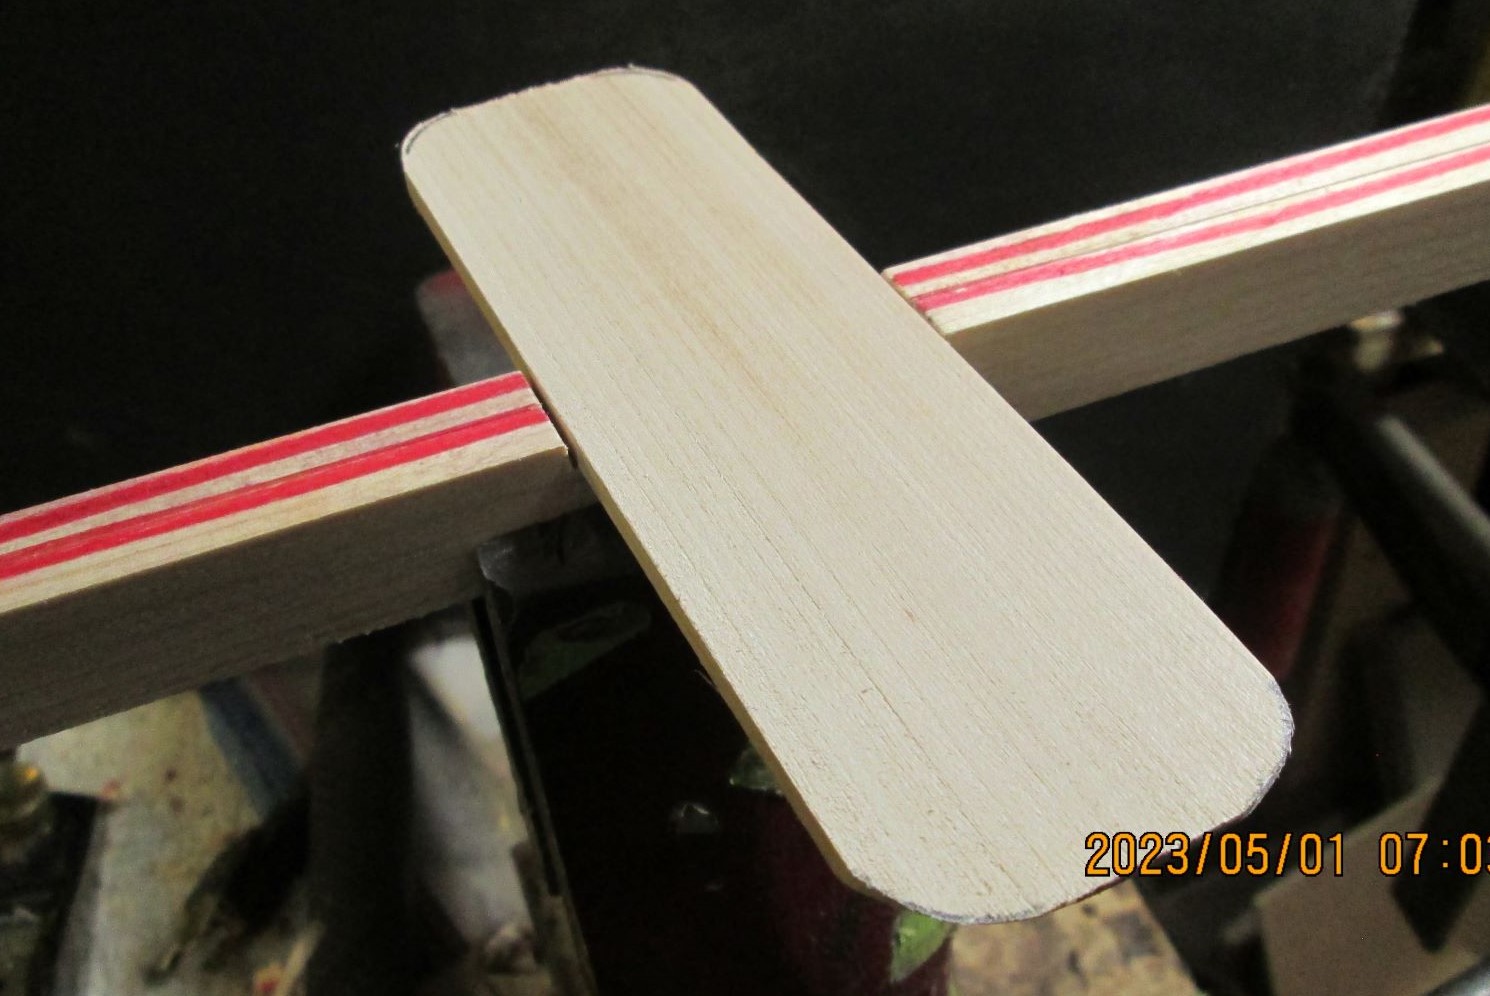
The next images show the finished mortise and the fitted reinforcing plate. I cut both braces at the same time.
Before starting with the plane, be sure to cut the ends of the mortise to proper depth with a saw. Also, it is helpful to chisel right up against the saw cut. Only cut 1/4-inch away from the ends of the mortise. Let the plane do the rest of the work.
To set depth of cut first time, use a stack of feeler gauges to creep up on the desired depth of cut. Use scrap wood during the set up procedure. Once you have the blade depth set for the thickness of your reinforcing plate don’t change it. Of course, you do have a big pile of reinforcing plate material all dimensioned and sanded to same thickness, correct?
I like this tool, and I am not going back to chisel and cabinet maker file. Once the depth of cut is dialed in, using this tool cuts mortise forming time in half.
©2023 D.R. Hanna