Making New Pick Guards
Key to making a quality guard is making a perfect disk matching the sound hole or rosette circle you want to cover or show as the case may be.
- Use the thinnest pick guard sheet you can find.
- Have a guard template or the original guard on hand. It is usually not a good idea to draw a guard free hand. Many luthiers are happy to send a cardboard pattern drawn from an original.
- Tools to have on hand are sharp long heavy duty scissors, Milwaukee carton blades, very sharp carbide scribe, carpenters divider (Starrett No, 92 with pin or Osborne 57042 or 57044 with pin), thin plastic cutting board (sold for use in kitchen), green tape (3M 2060). See my article on "Surface Protector" this website.
- Assuming you have the guitar in hand, Make a template of the sound hole diameter with the divider and the plastic board. This should be a full circle. The goal here is to make a perfect circle exactly matching the diameter of the sound hole rosette ring (or the sound hole itself) that you want the inside curve of the guard to match. This step is critical and should be done first. If you can’t make this circle pattern accurately, do not attempt to fabricate the rest of the pattern.
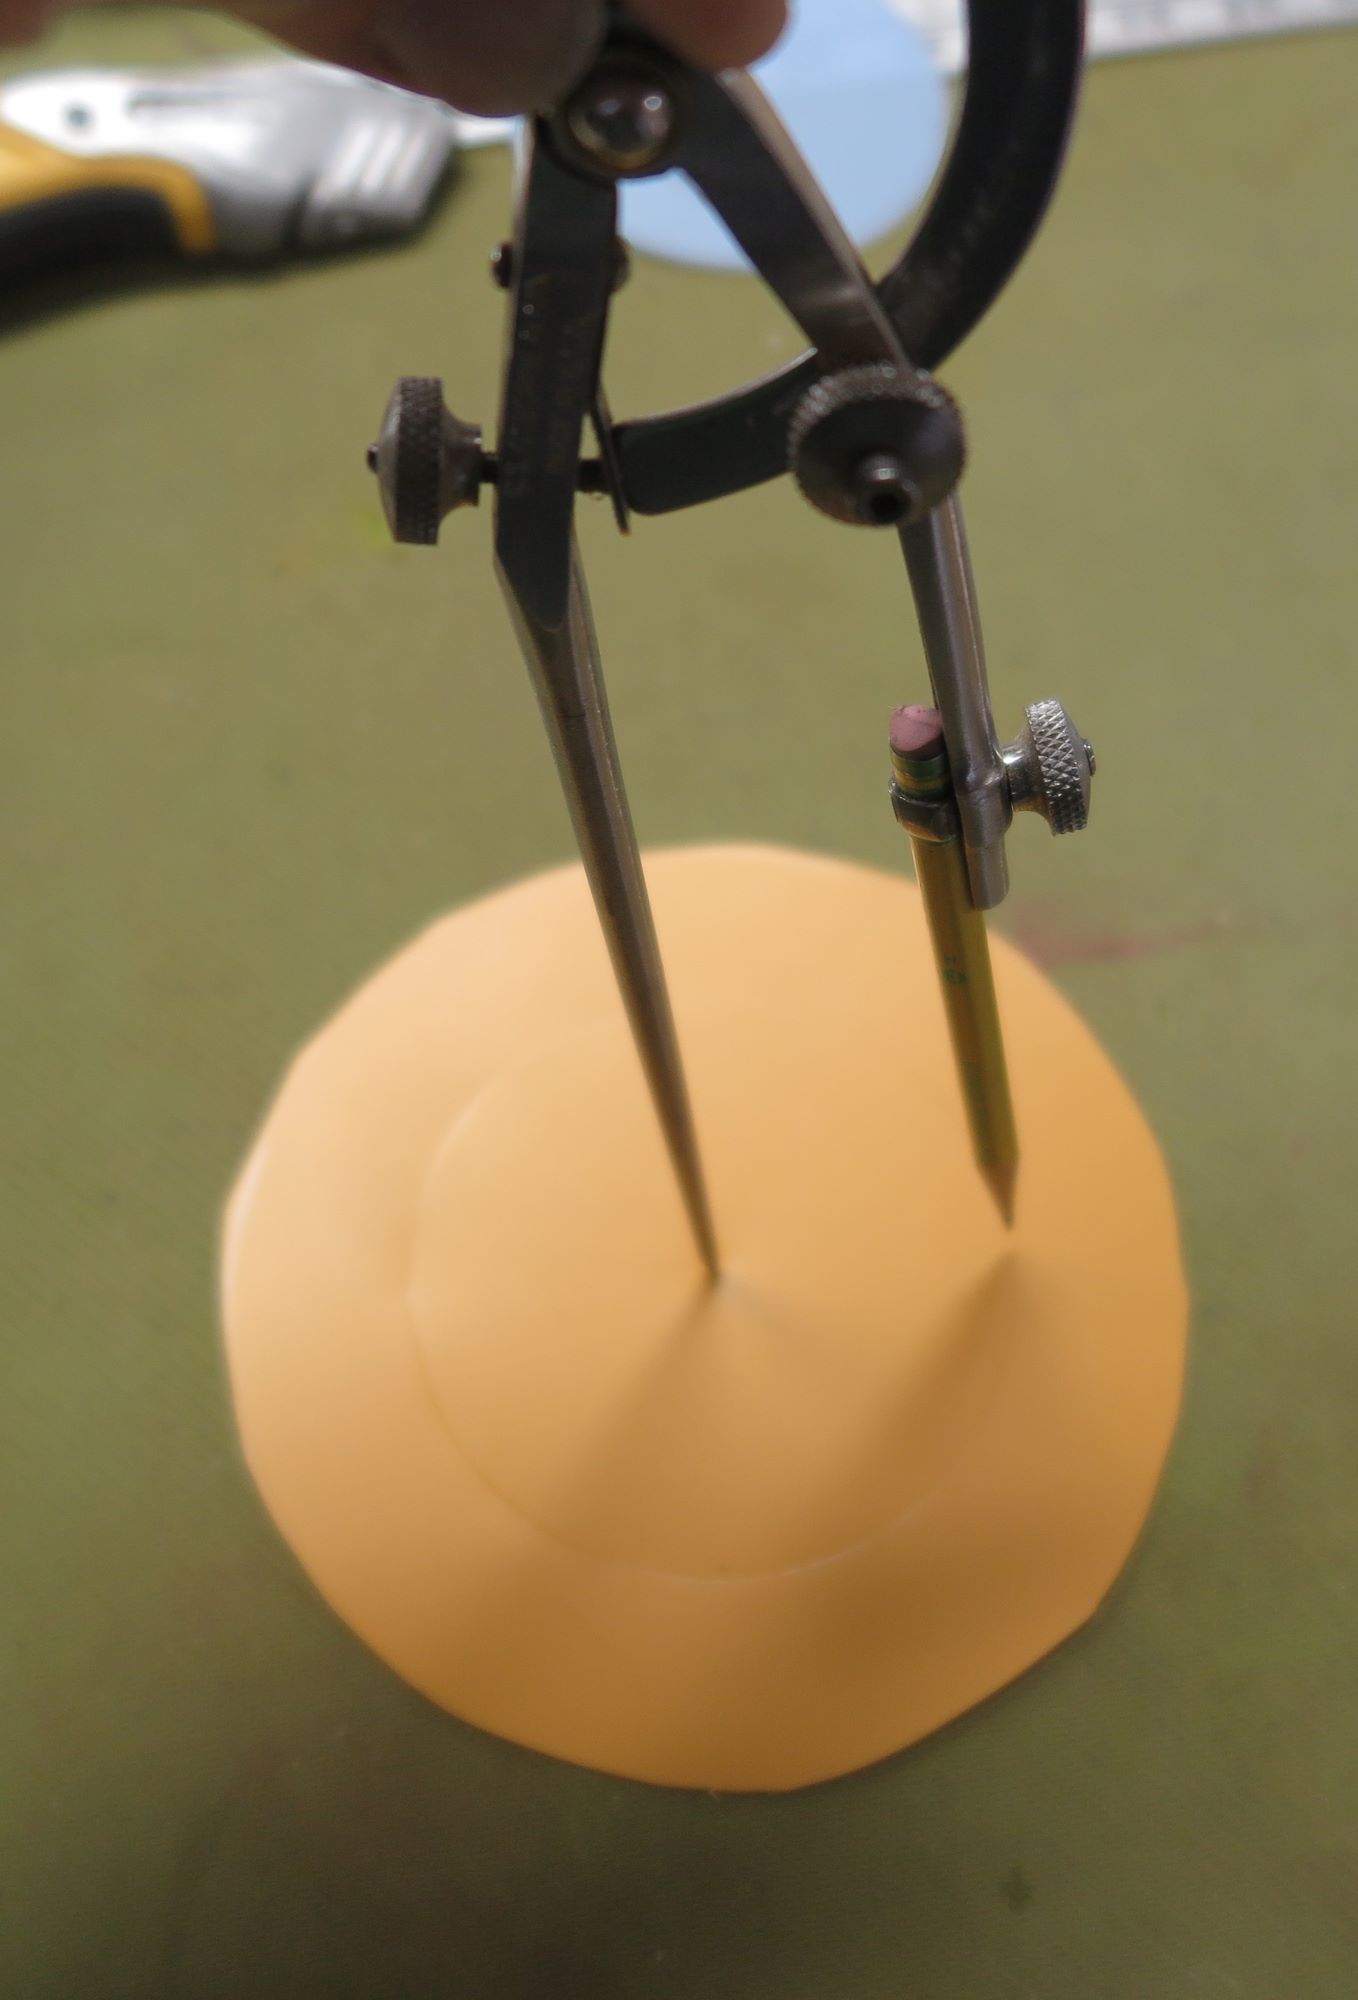
- I used the compass and scissors to cut down the circle until it matched the sound hole rosette exactly. If the guard is to fit the sound hole inside diameter, size accordingly. This sizing is not unusual if you want to hide sound hole edge damage.
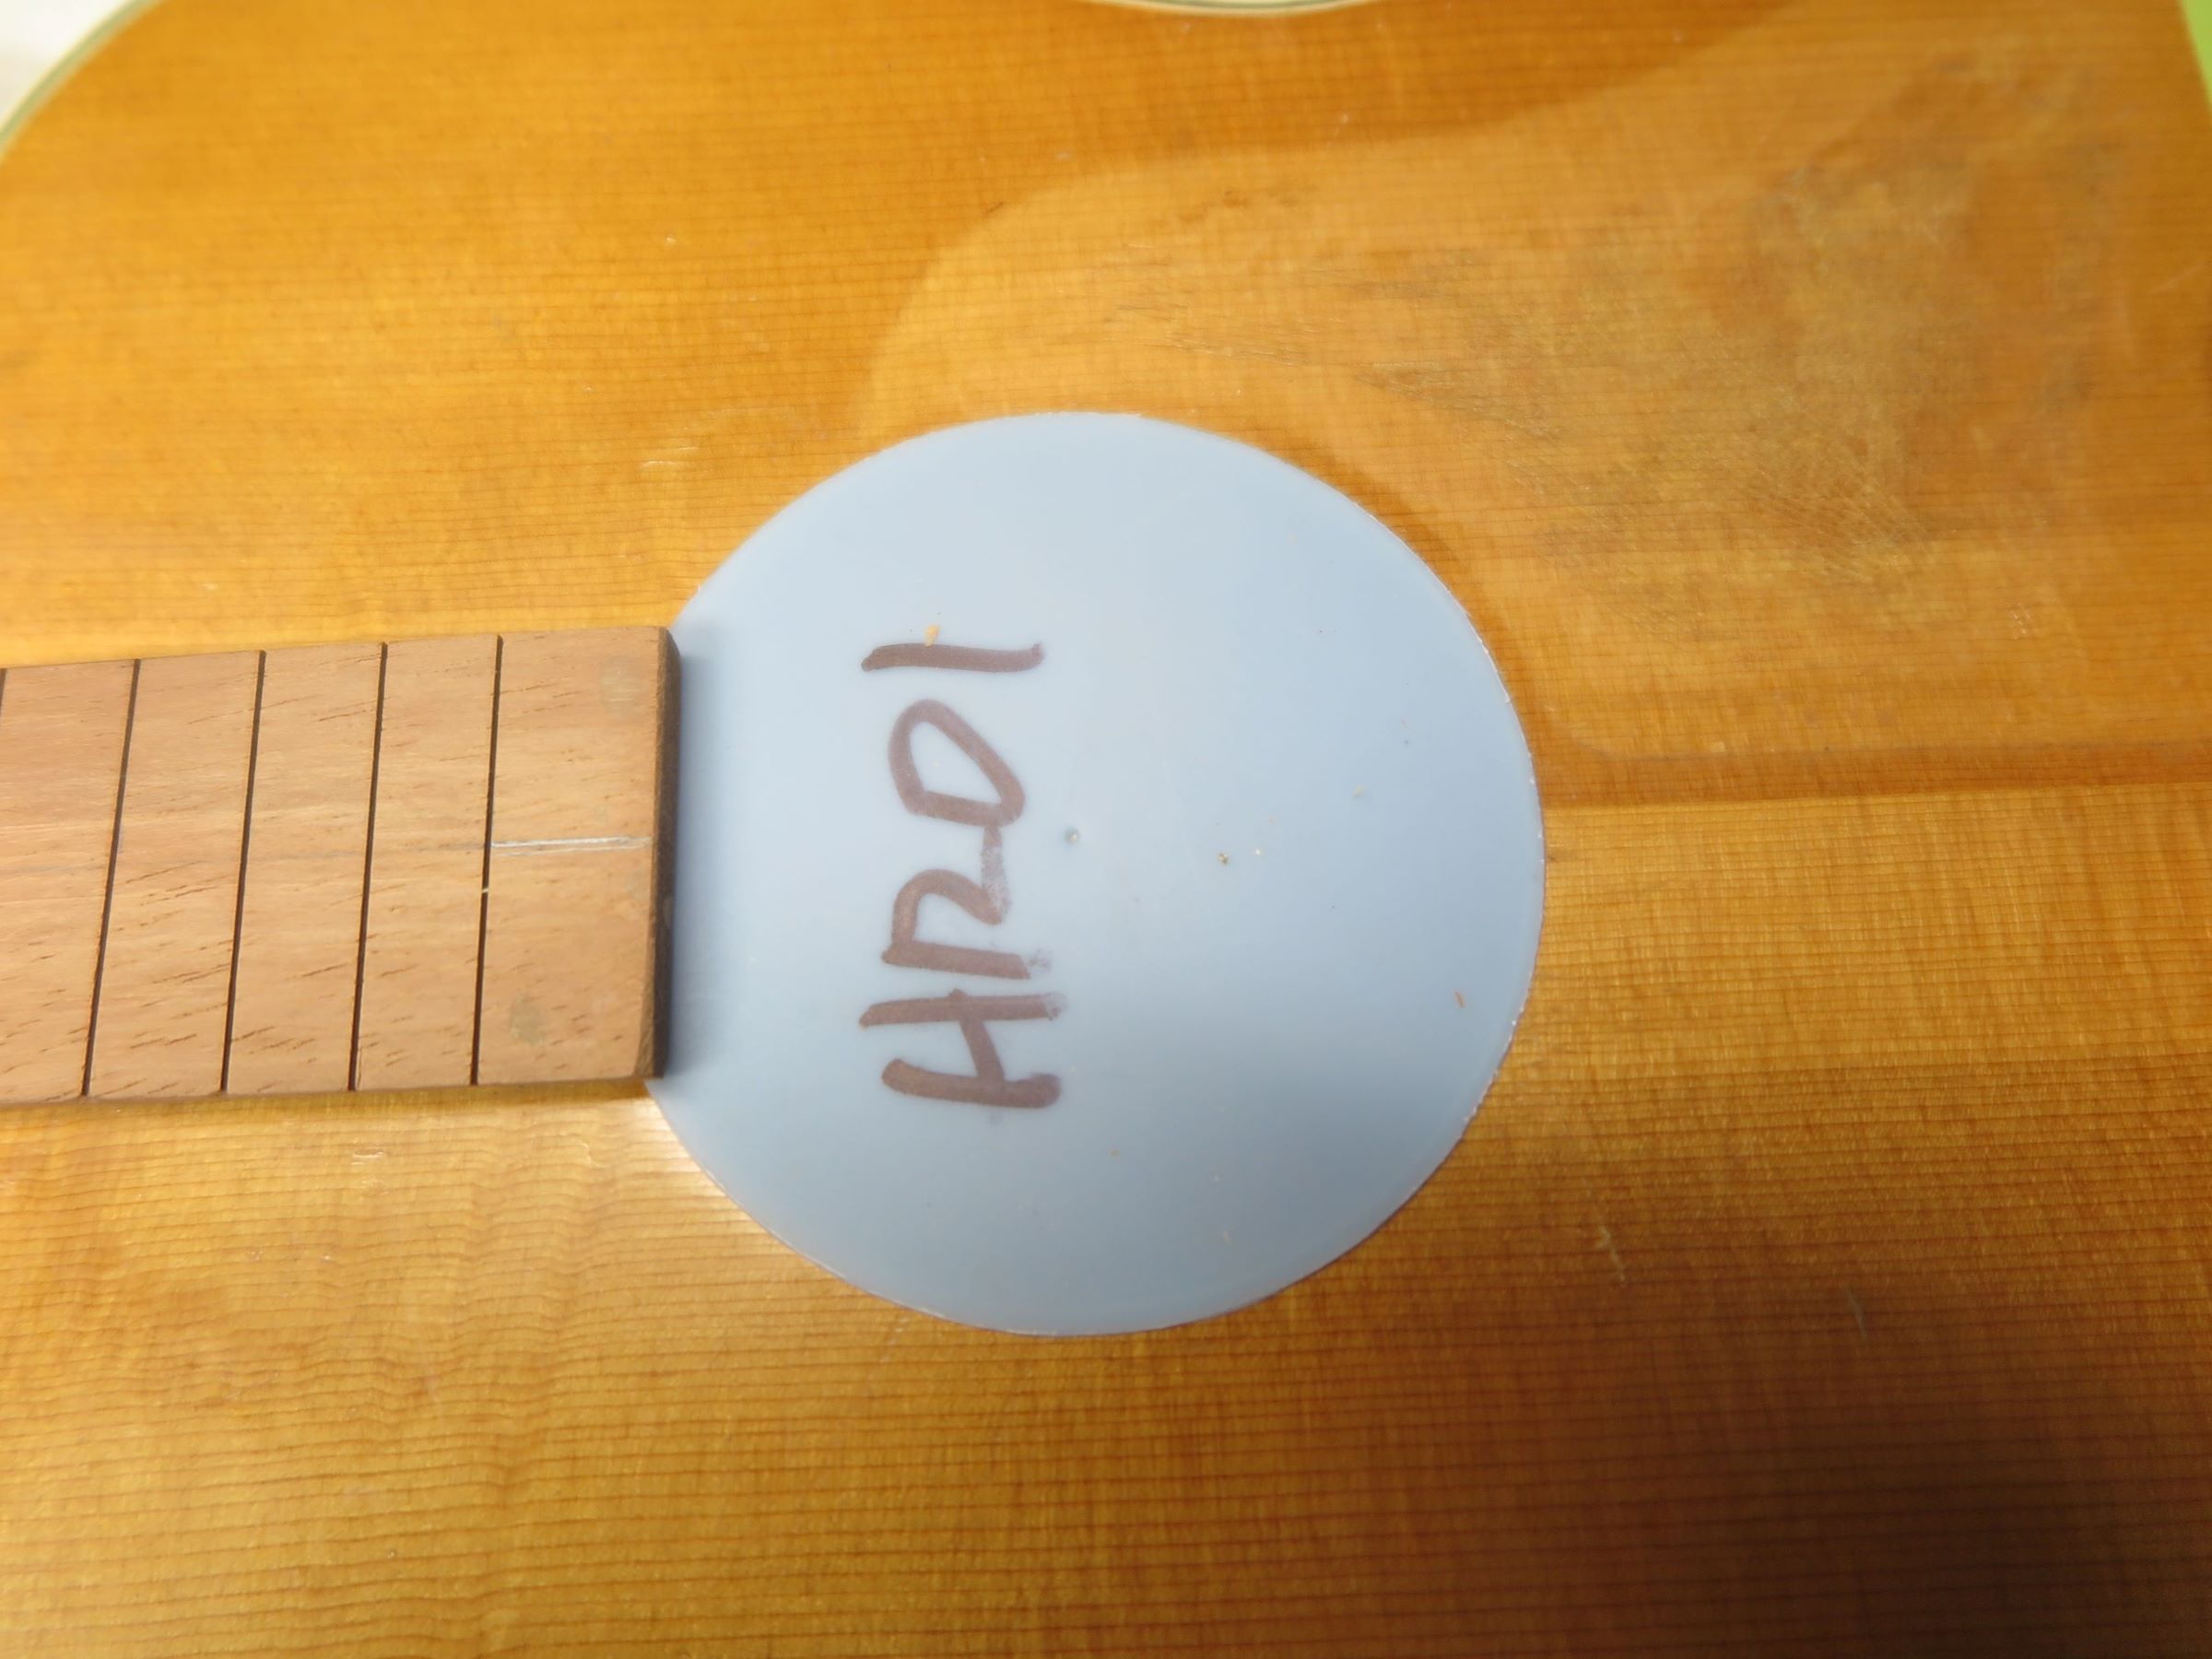
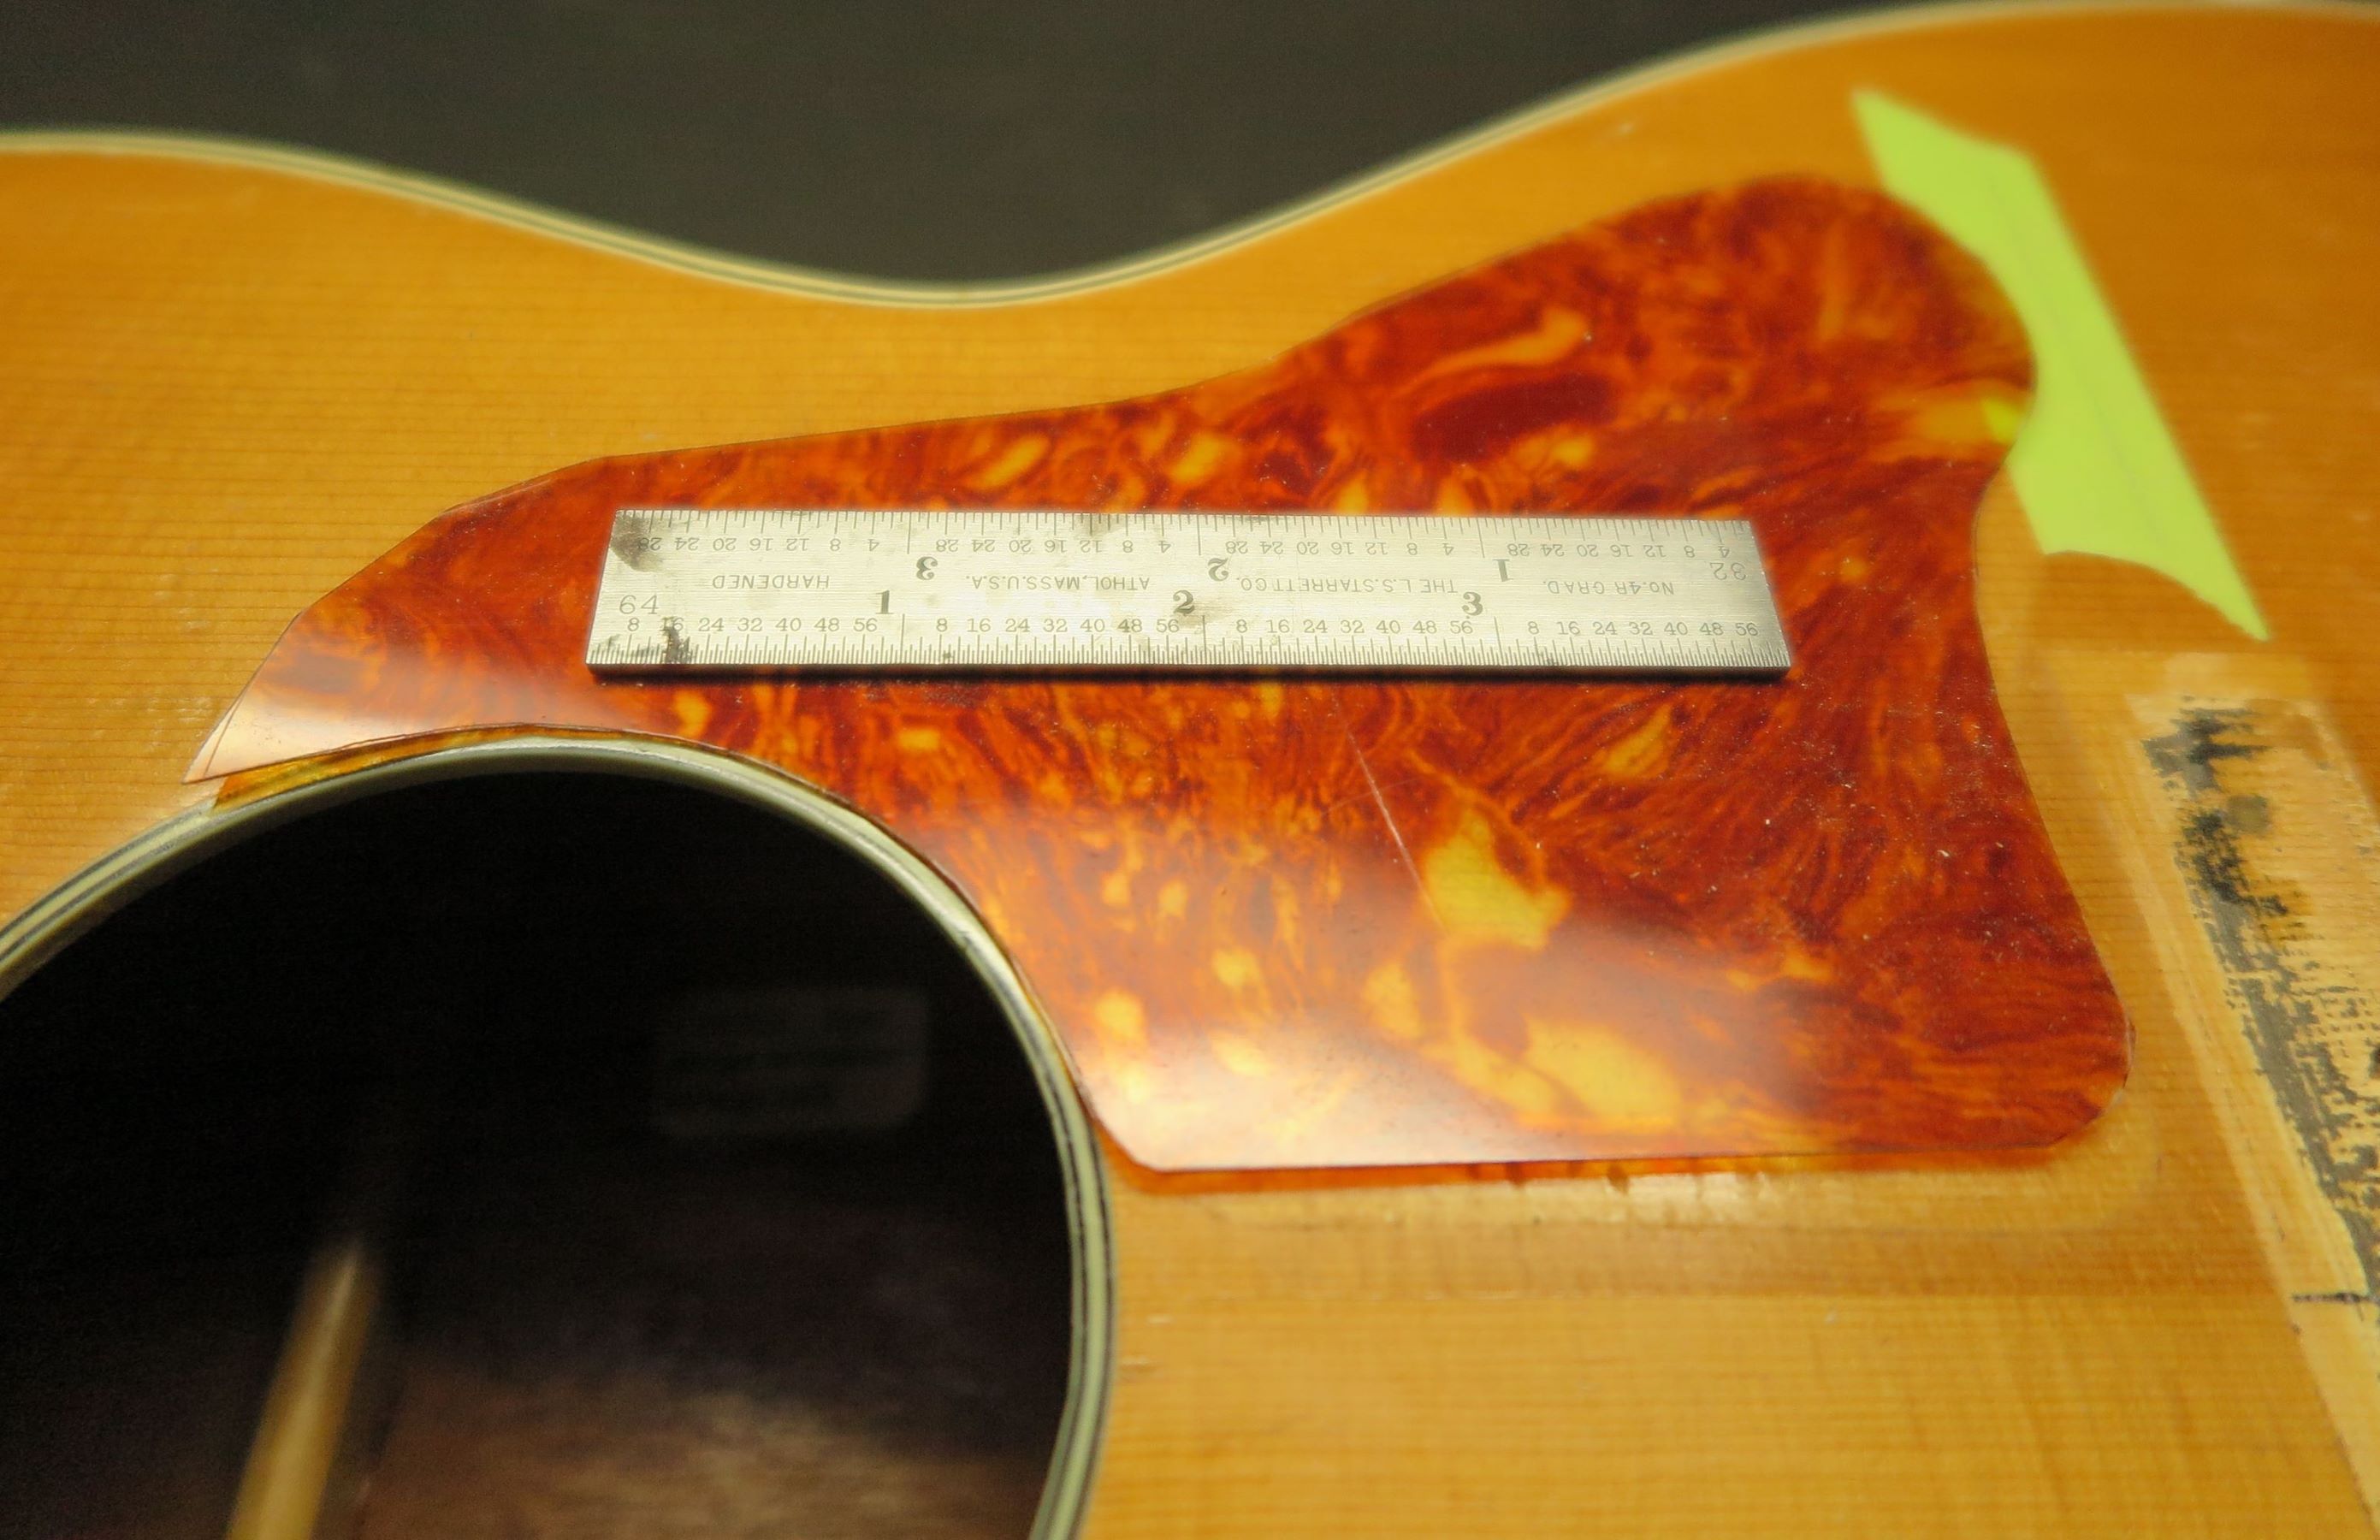
- Once you have the plastic circle pattern made, place the circle on the guard sheet edge. This should match the depth that you want the guard depth on the sound hole or rosette.
- Align the original guard or pattern made from the guard thereof on the plastic cutting board. You may need to use the green tape to hold everything in place and to assist marking.
- Mark around the circle onto the guard plastic using the scribe.
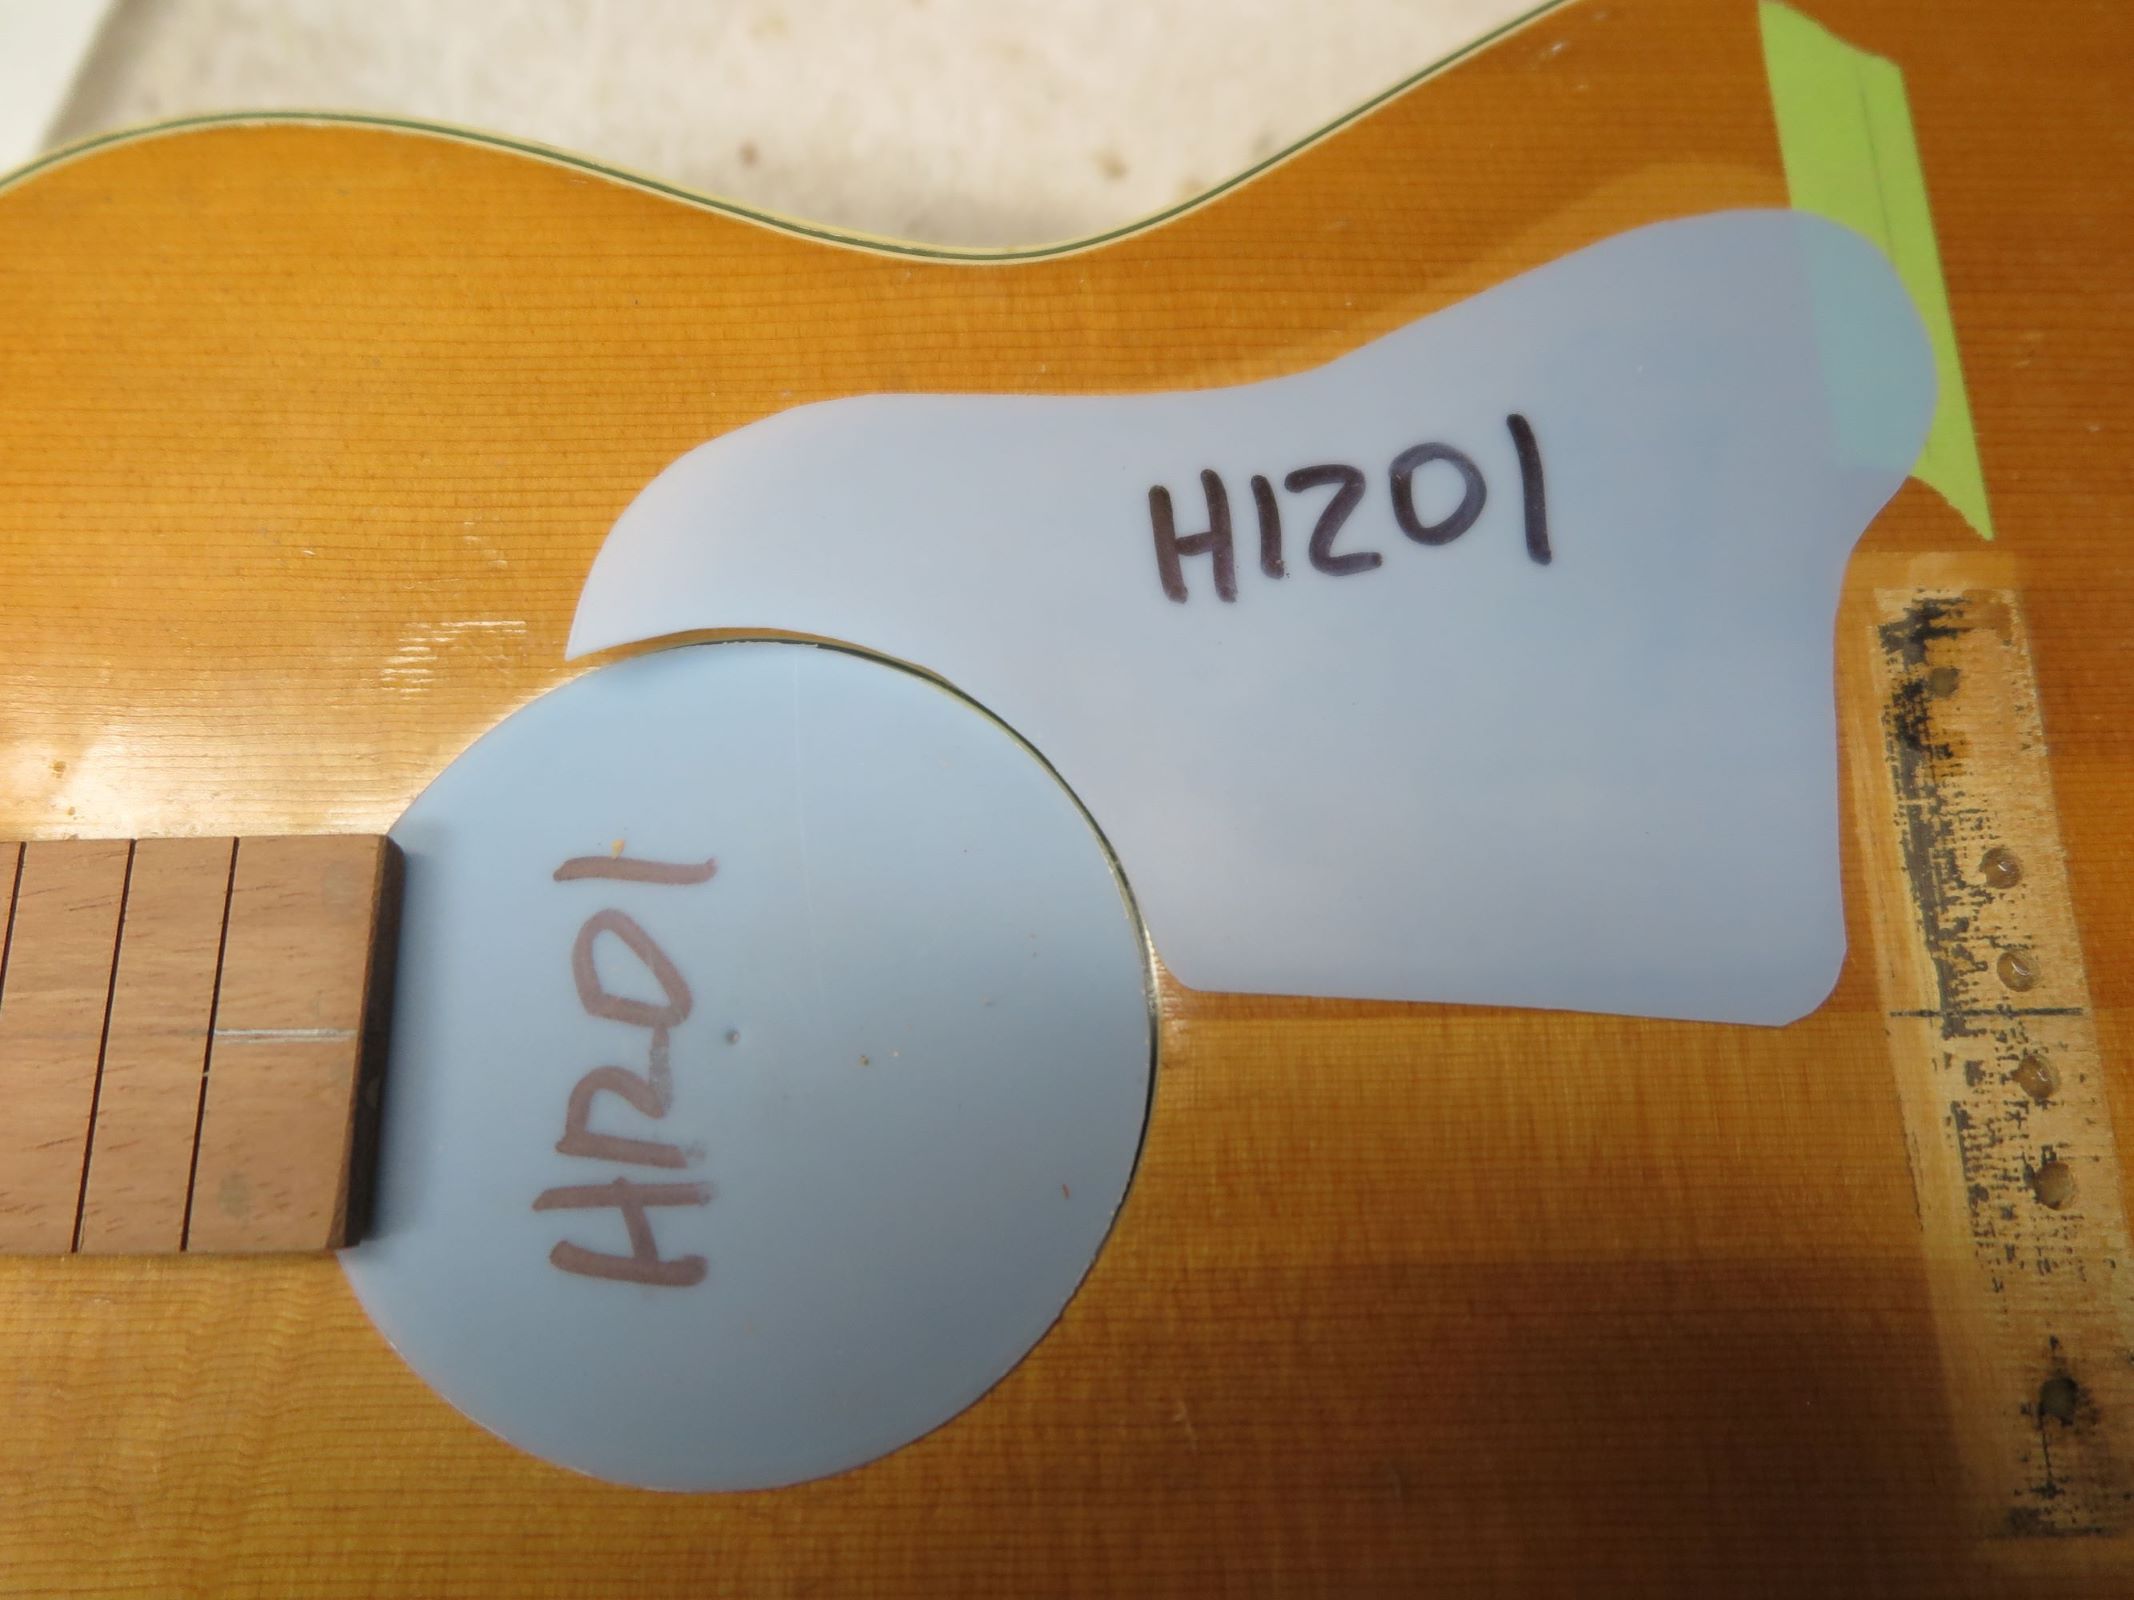
- Assuming you have an original or pattern, align the pattern with the semi-circle. You should tape the pattern to the guard sheet so it won’t move around while scribing.
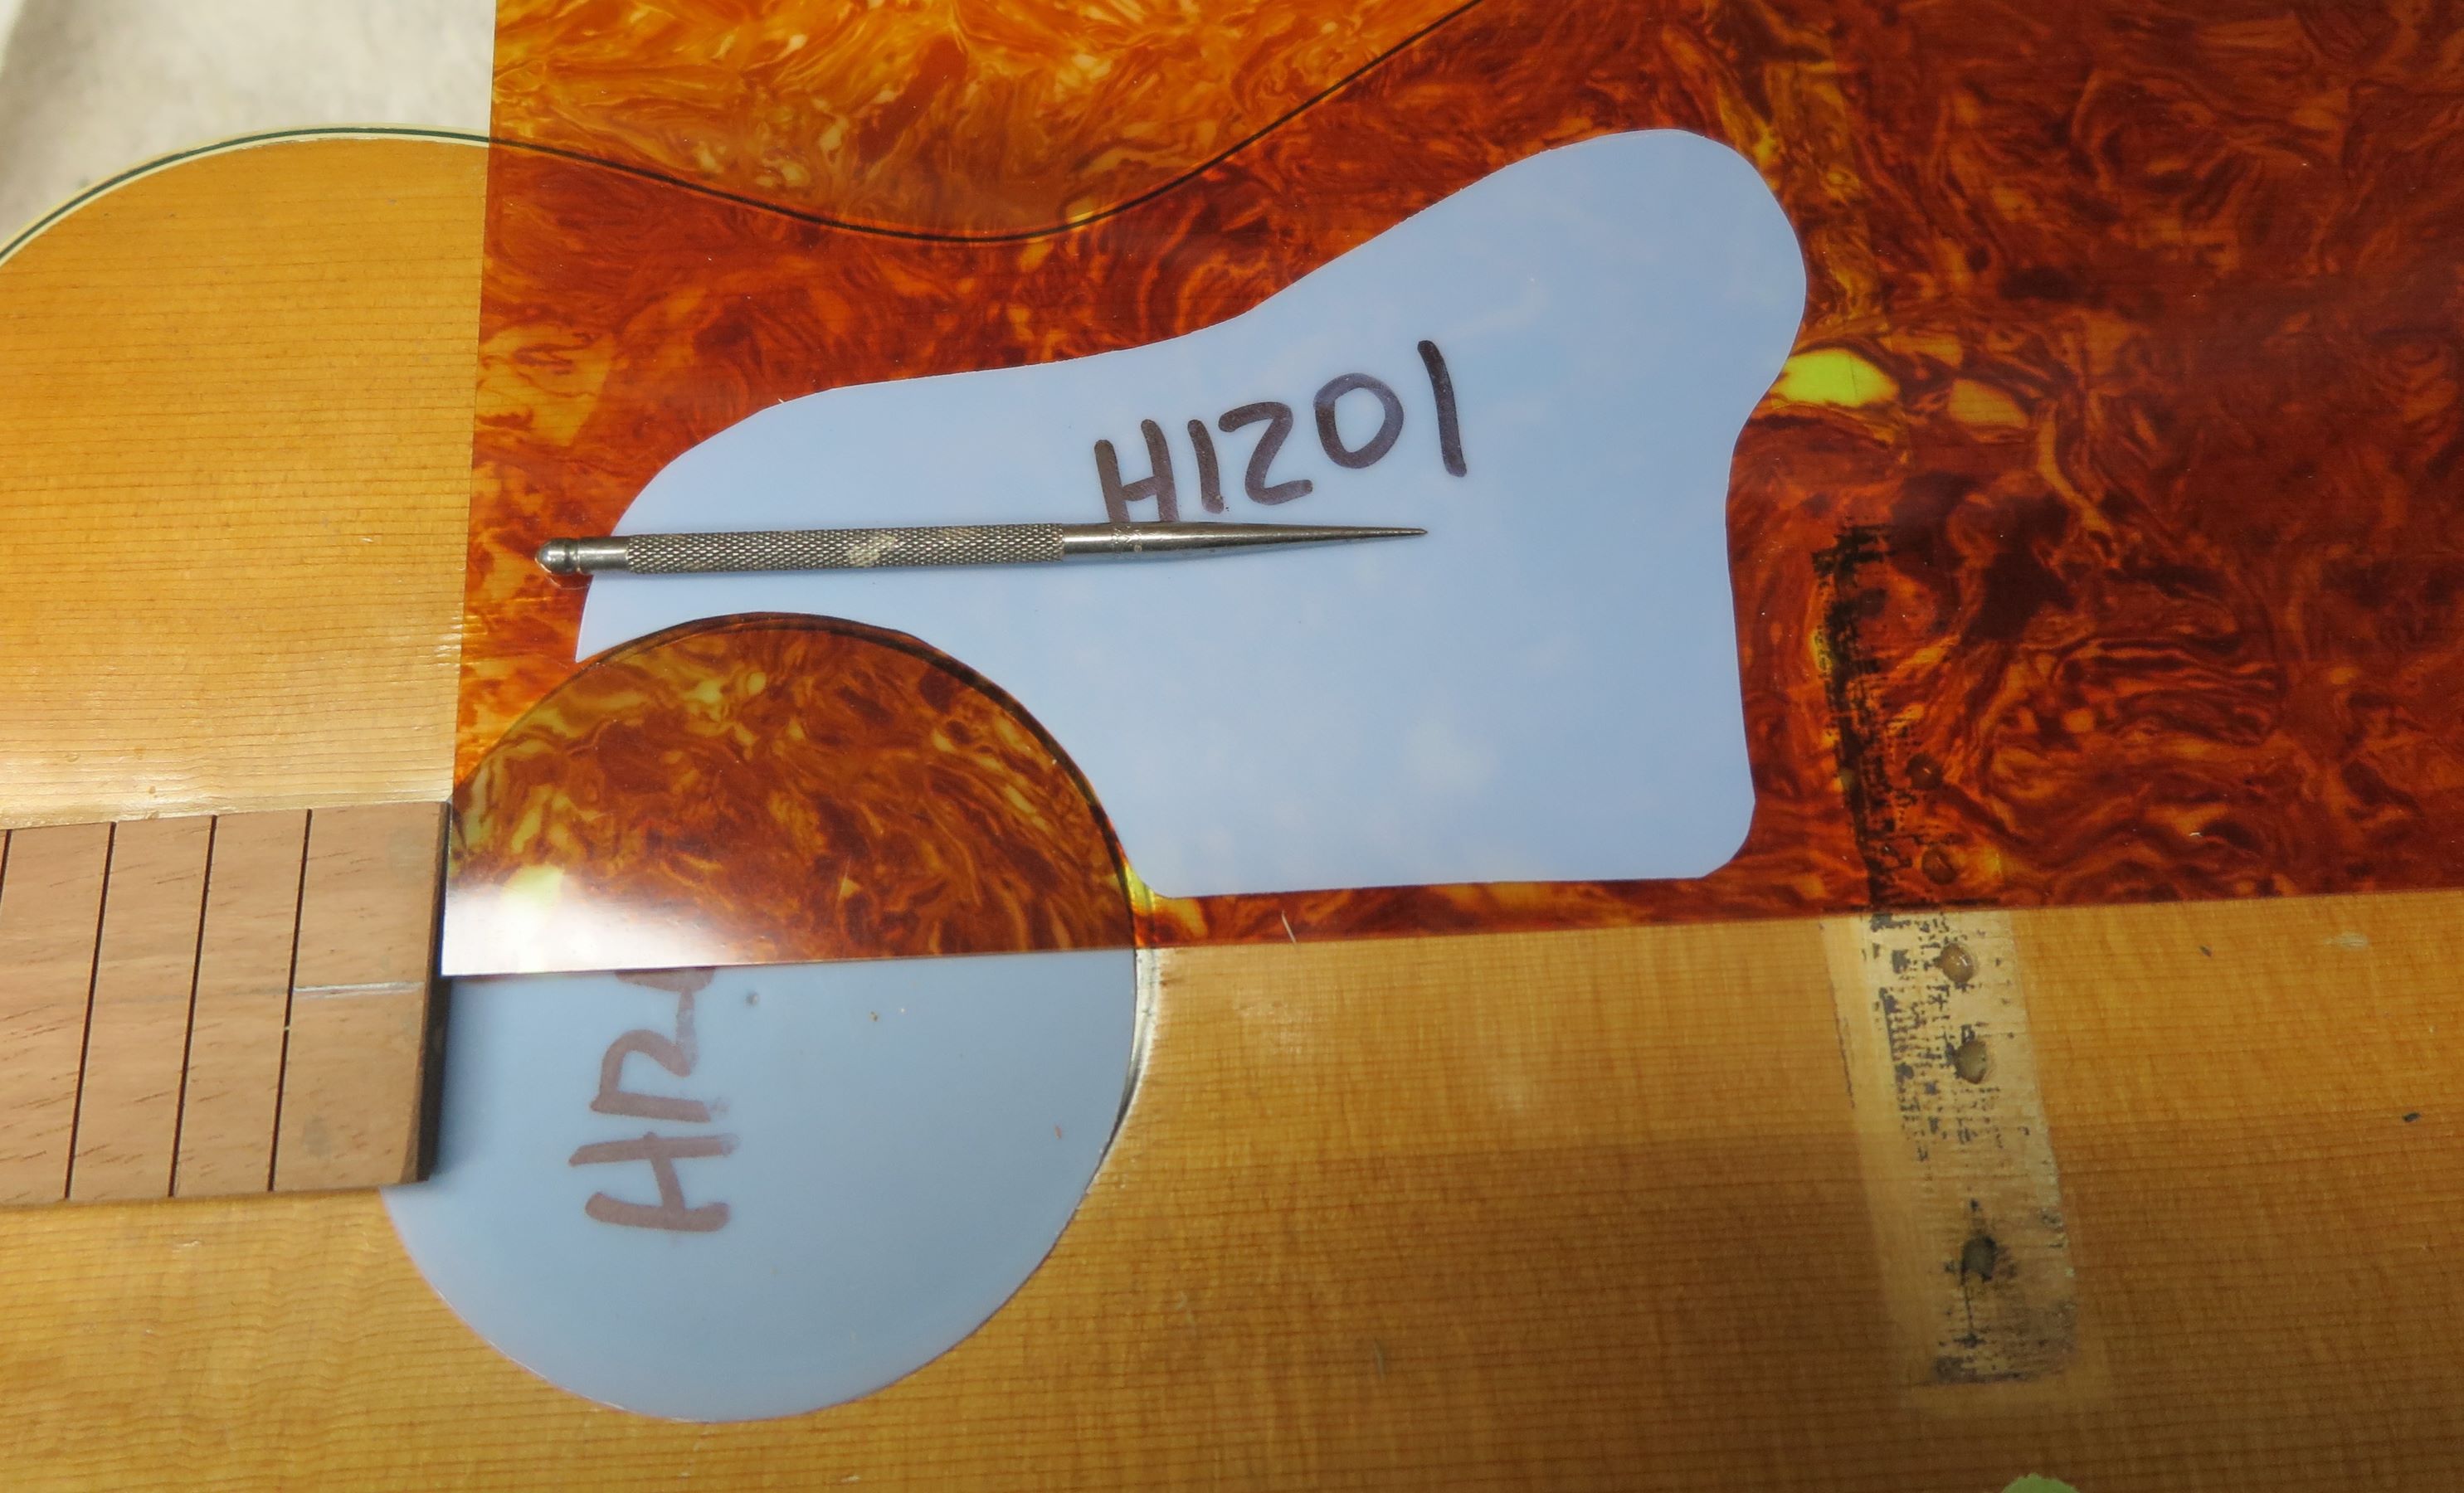
- Scribe the rest of the pick guard pattern. Don’t slip off onto the guitar top. Note that I rough cut 1/8-inch from the scribe marks. The reason for this is that the template material can be very difficult to cut. It is much easier to cut the guard sheet when there is only 1/8-inch of material on one side of the scissors.
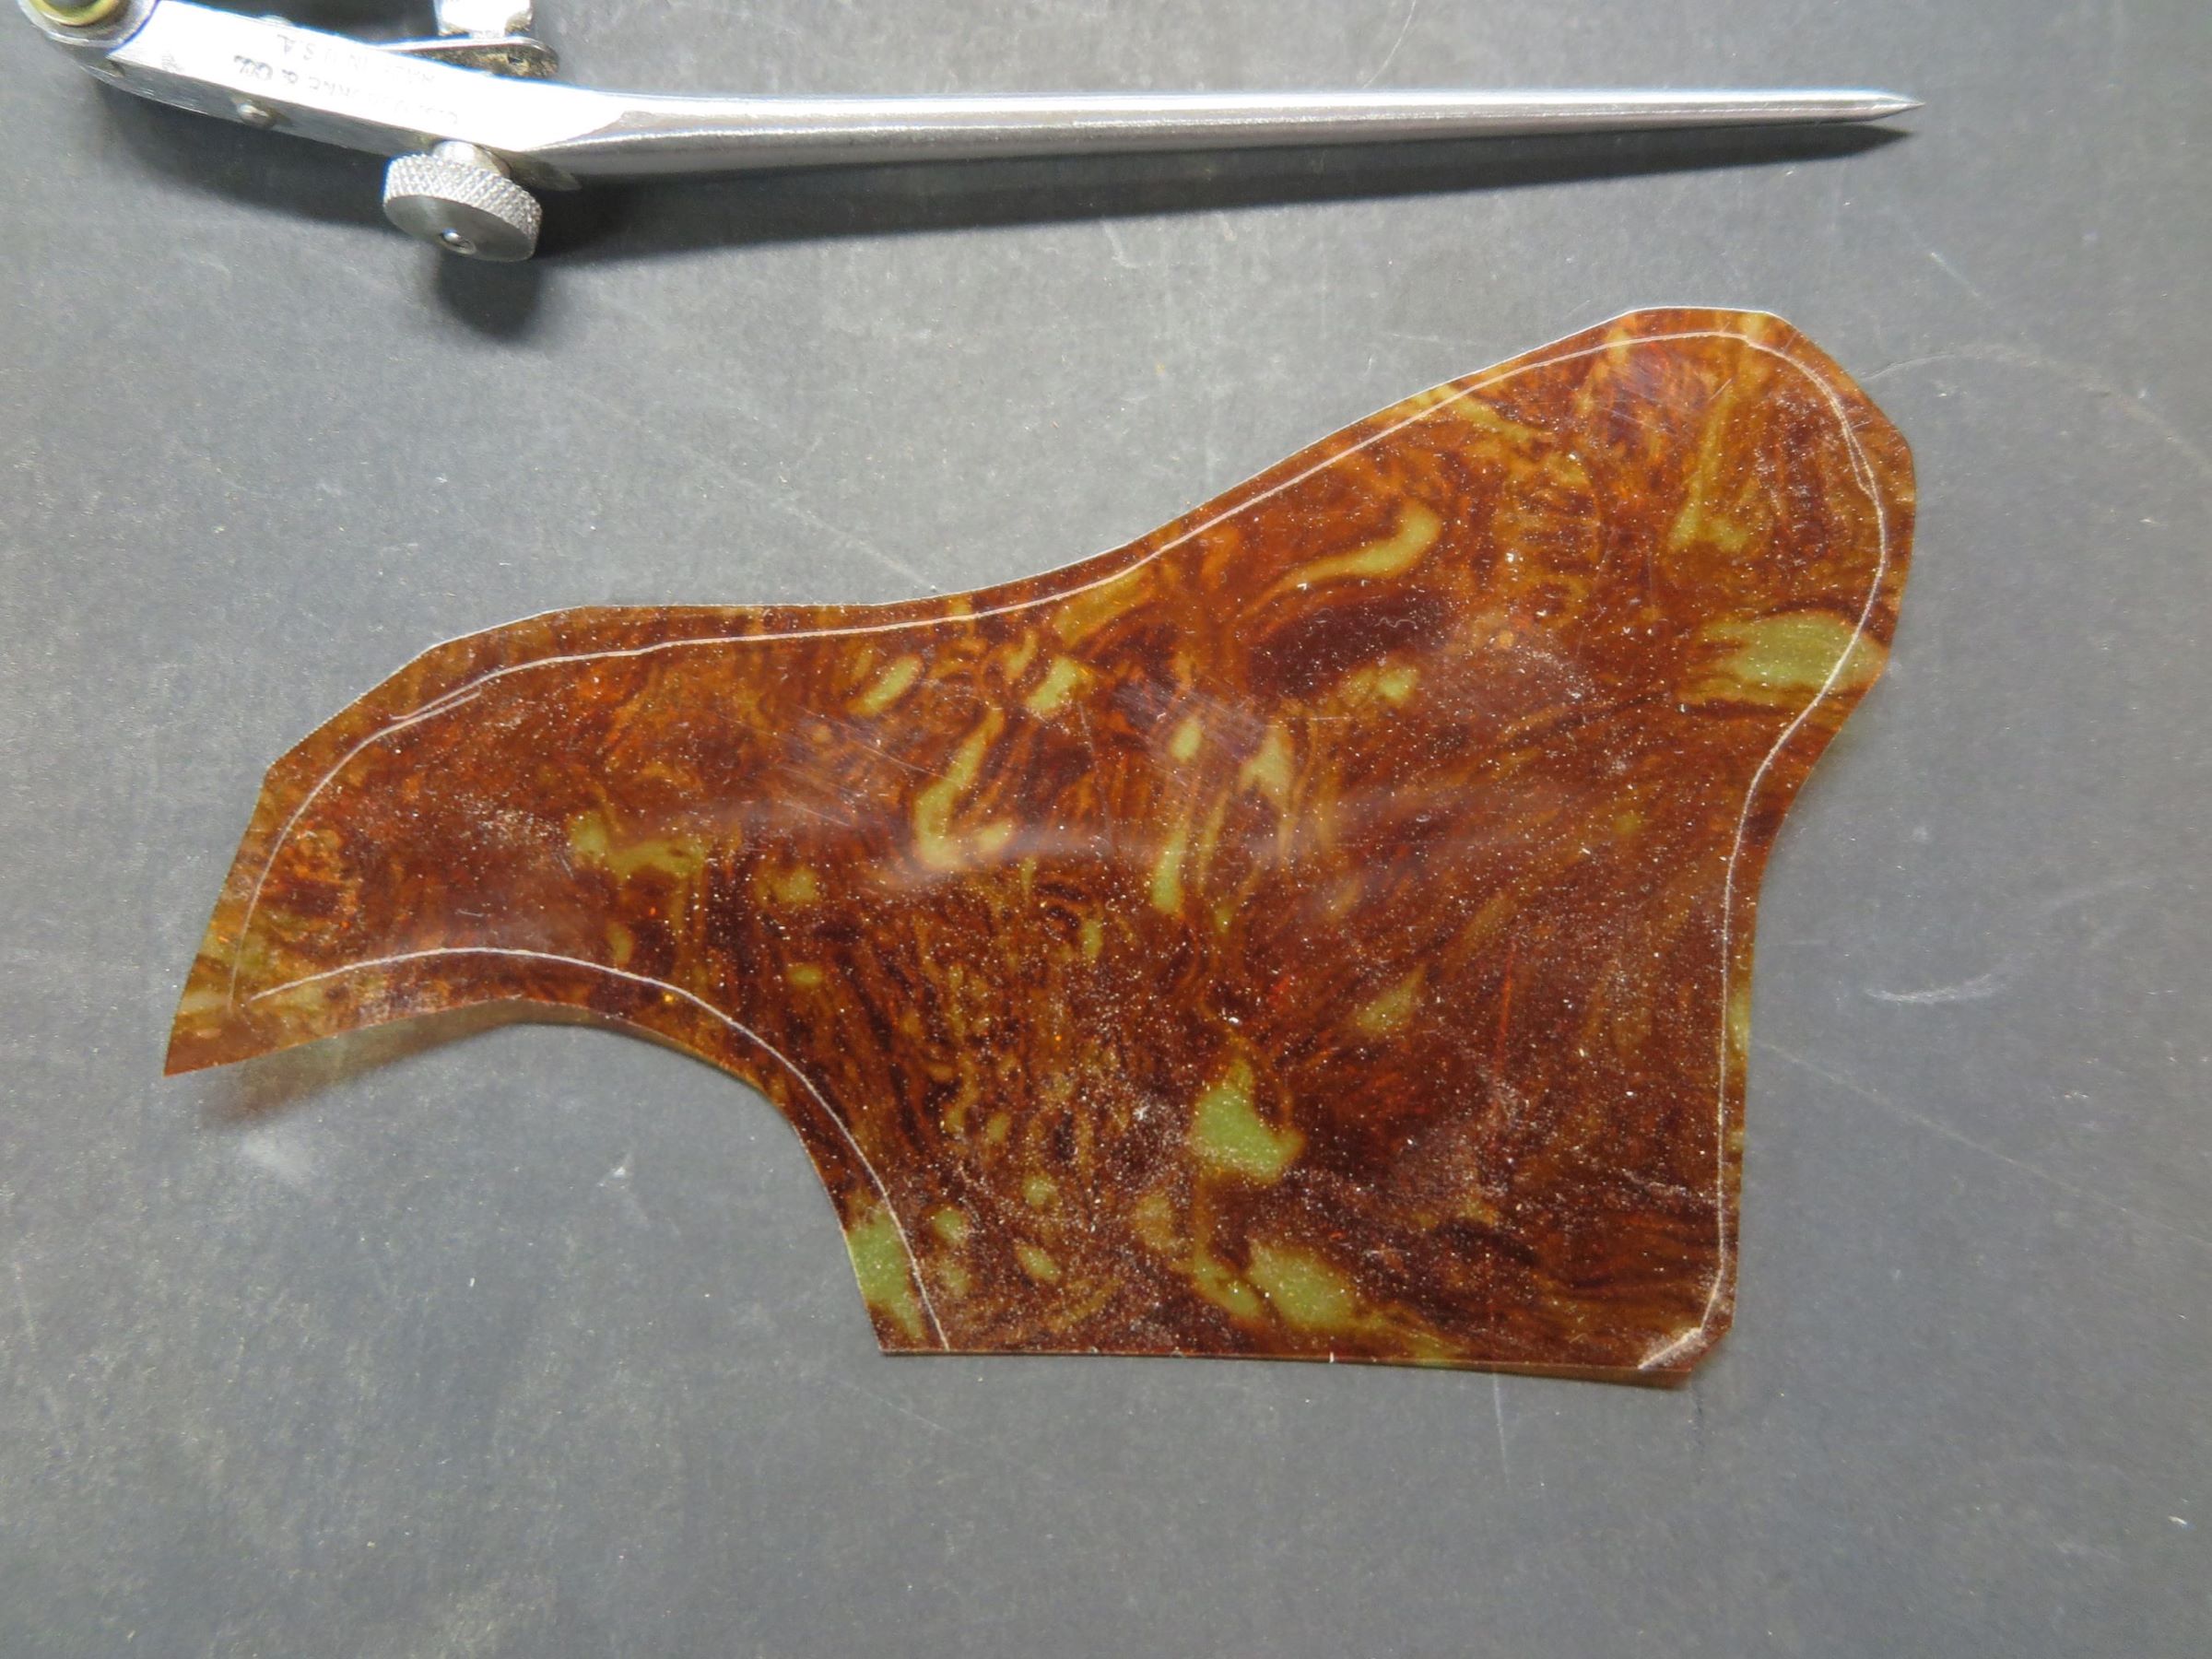
- Cut out the now scribed guard shape from the guard. Cut beside the scribed line 1/16 to 1/8-inch. Do not attempt to cut right on the scribed line as scribed on the sheet.
- After the scribed guard shape in cut roughly from the guard sheet, cut the guard sheet to the scribed pattern. You may think it easier to cut the guard sheet with a pointed Xacto knife, but in my opinion, that way lies madness. After all, this material is designed to resist cuts and scratches.
 \
\
- Though not shown here, use the Milwaukee carton blade to cleanup and chamfer the edges by scraping, not cutting. That entails a whole ’nother article.
Use 3M adhesive film to adhere guard to guitar top.
©2024 D.R. Hanna